
Last updated November 16, 2026
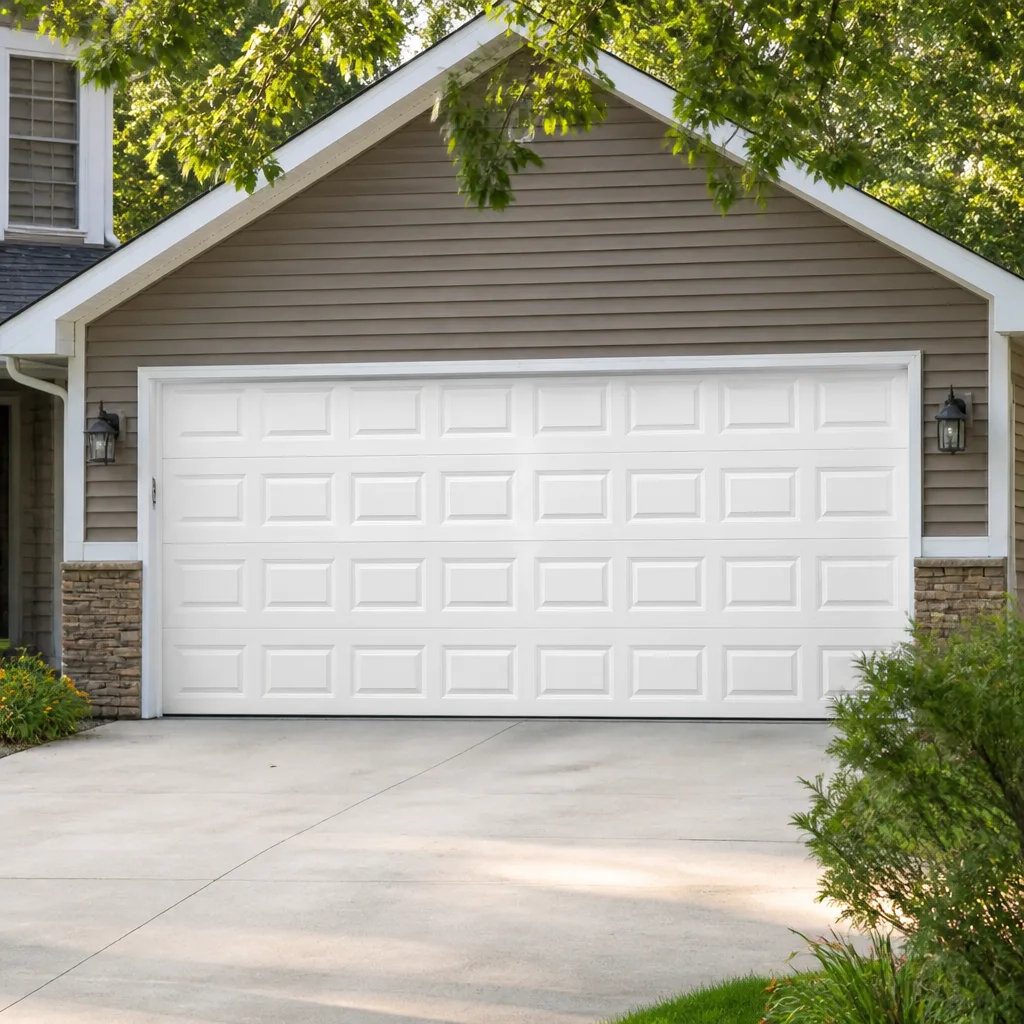 Raised-panel steel
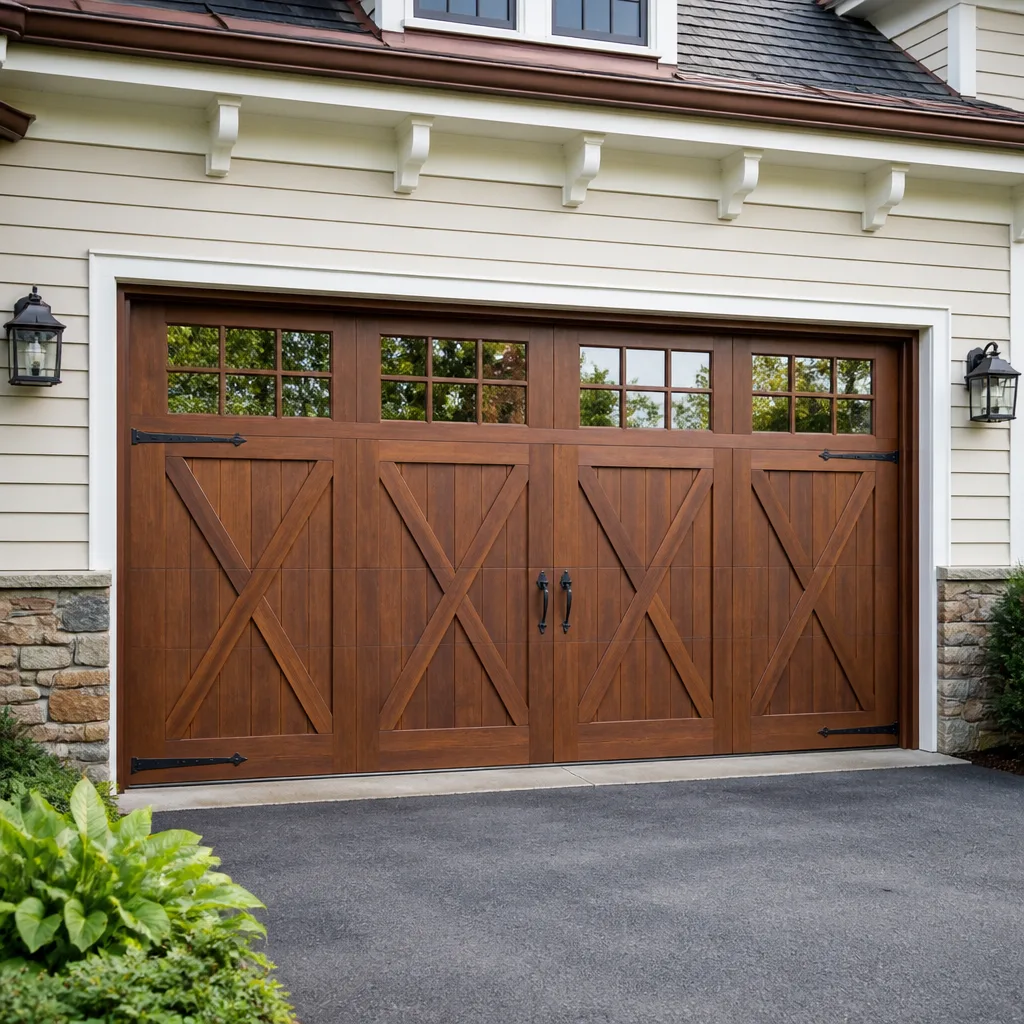 Carriage house
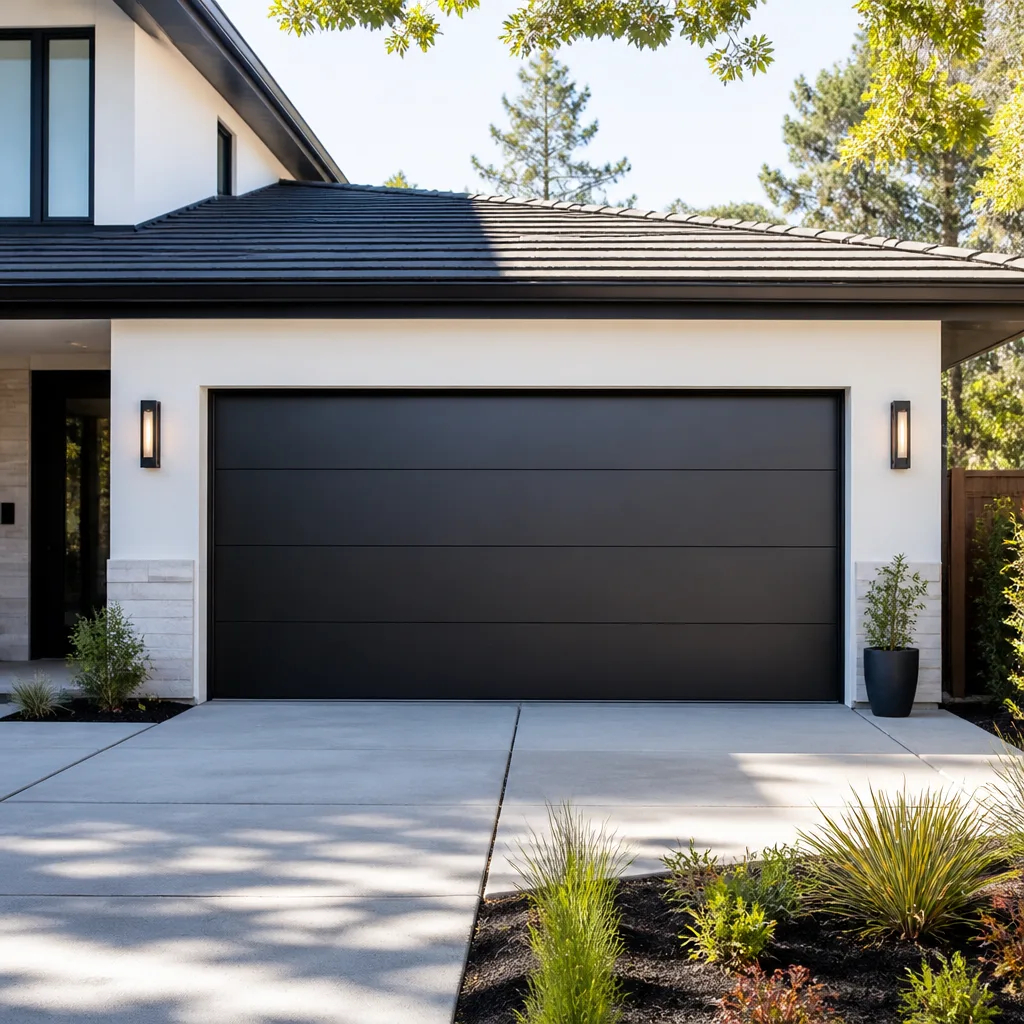 Modern flush
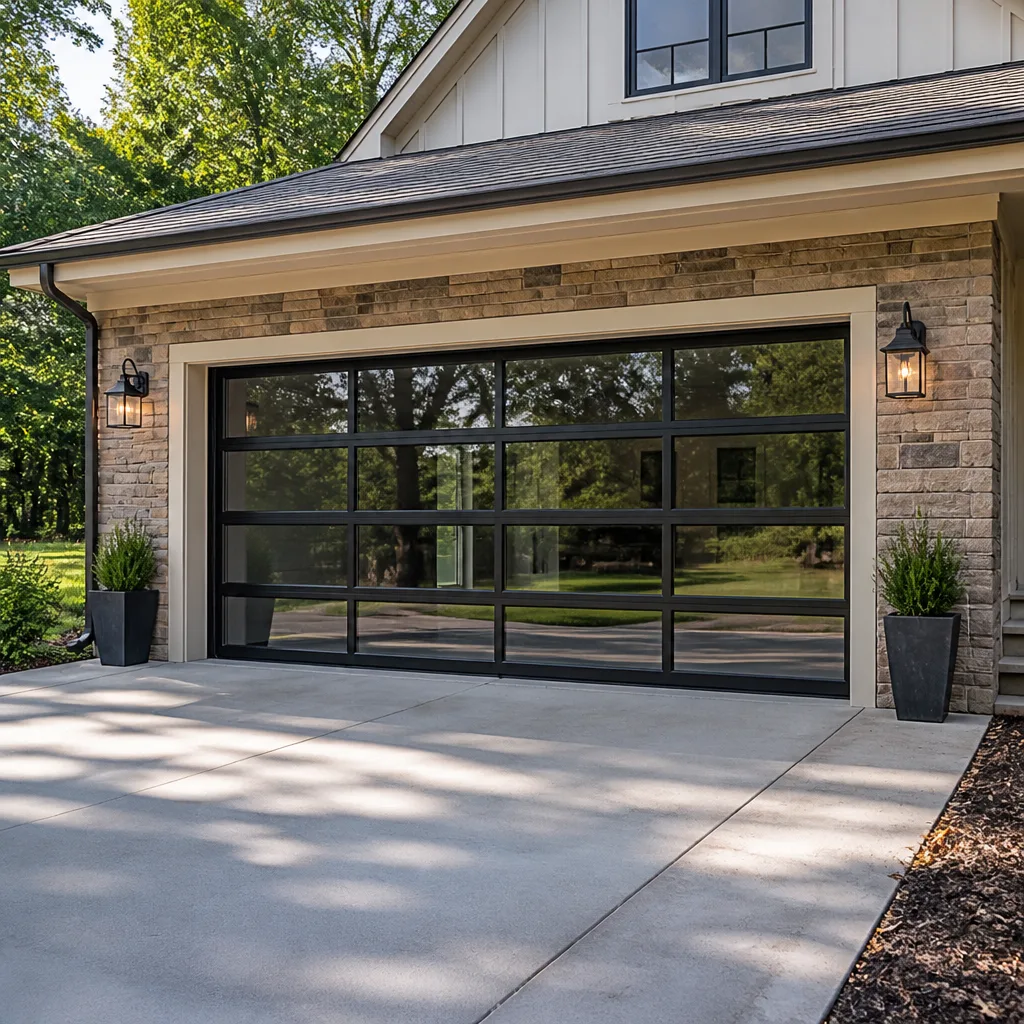 Full-view glass
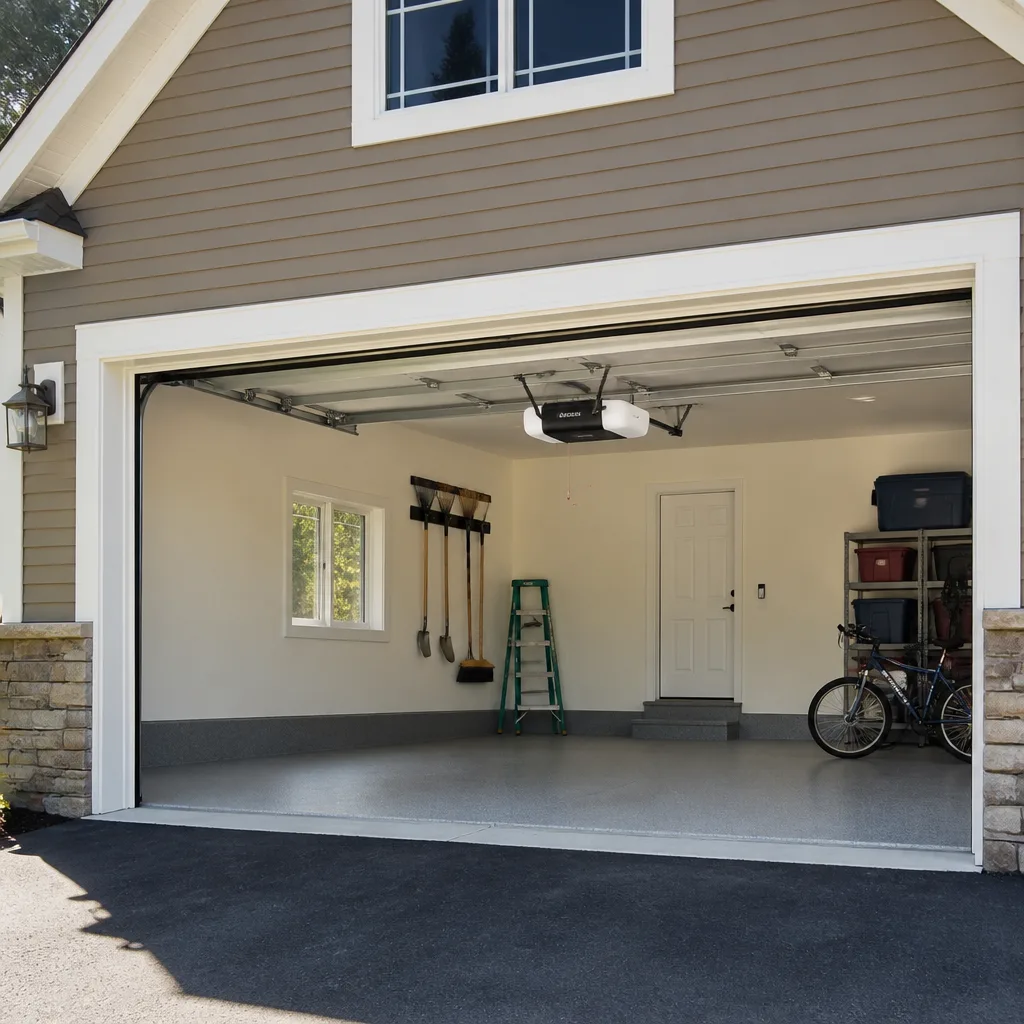 LiftMaster openers
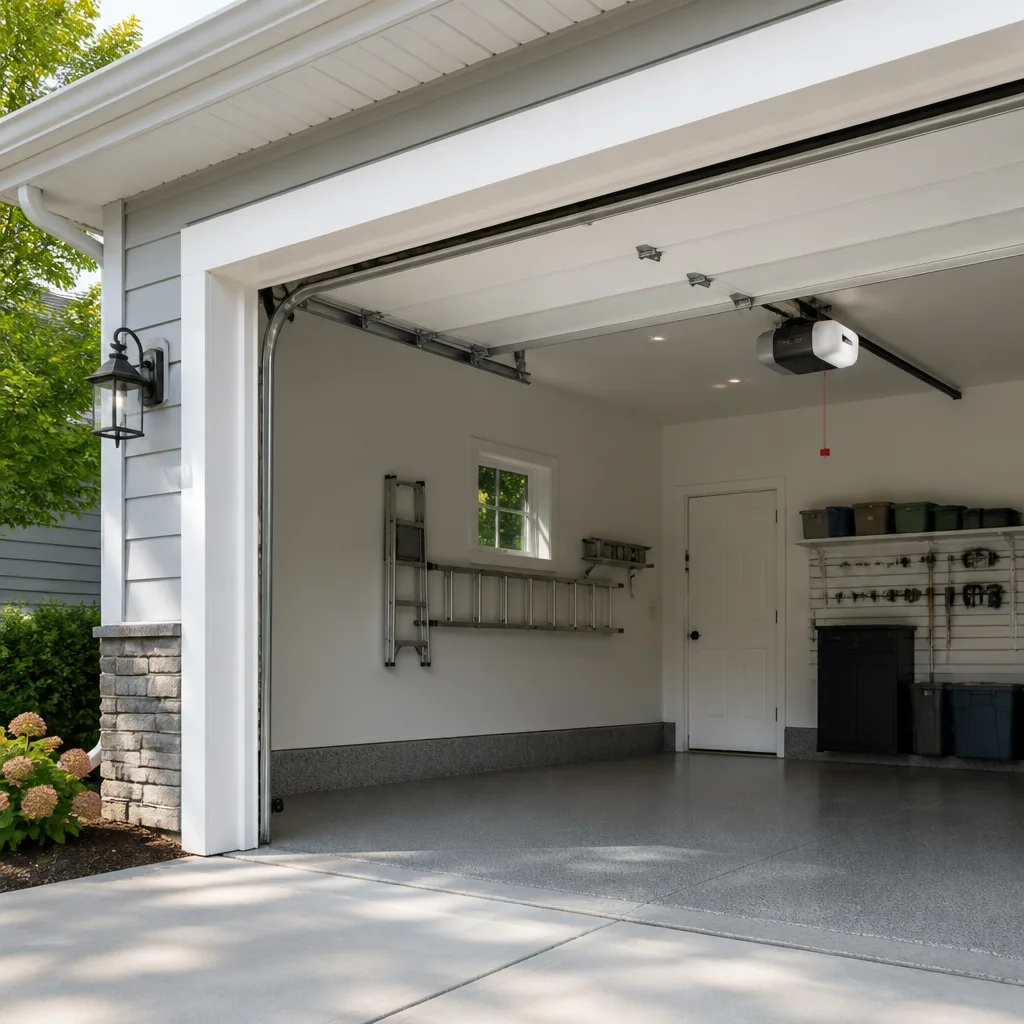 Chamberlain openers
Full 25-point door and opener safety check with every visit - springs, cables, rollers, tracks, and your LiftMaster or Chamberlain opener included
You get a price before we start. It does not change when the pro arrives.
Get your free estimateGarage Door Repair Maintenance Checklist for Waco Homeowners
The number-one call we get in Waco every October isn’t a broken spring. It’s a door that ran fine all summer and suddenly won’t seal at the bottom, because the weather stripping hardened and cracked during three months of 95°F+ days. That pattern repeats all over this city: the part that fails first isn’t the one you’d guess, and it’s almost never the one a generic checklist told you to watch. We’ve built this guide around what actually breaks here, in this heat, in this pollen, in this mix of older and newer homes, and ordered the tasks by how often they cause real failures. By the end you’ll know what to check yourself, what to leave alone, and when to call someone before a small problem turns into a spring or cable job.
Quick Answer
A garage door maintenance checklist for Waco should focus on heat and humidity wear over anything else: lubricate springs, hinges, and rollers with a silicone-based or lithium-complex lubricant (not WD-40) every four to six months, inspect the bottom weather seal every fall before cold snaps arrive, test the safety sensors and auto-reverse monthly, check roller and hinge wear quarterly, and look over the opener’s logic board for corrosion twice a year. Springs, cables, and the torsion assembly are inspection-only tasks for homeowners; repairs on those parts belong to a trained garage door technician.
Styles & brands we work with
- Raised-panel steel
- Carriage house
- Modern flush
- Full-view glass
- LiftMaster openers
- Chamberlain openers
Table of Contents
- Why Waco Doors Fail Differently
- Step 1: Lubrication That Survives Texas Heat
- Step 2: Rollers and Hinges – The Early Warning System
- Step 3: Testing Balance Correctly
- Step 4: Weather Seal and Sensor Checks Before Cold Snaps
- Step 5: The No-Tools Logic Board Inspection
- The Seasonal Maintenance Calendar for Waco
- When to Call a Professional
Why Waco Garage Doors Fail Differently
You can run the same checklist on a door in Waco and a door in a cooler climate, and you’ll get two different result sheets. A door here lives through months where the inside of a closed garage climbs well past the outdoor temperature, then through humidity swings that pull moisture in and out of wood jambs and rubber seals, then through cedar pollen season that coats every moving surface with debris fine enough to work into creases. All three of those loads hit the same parts at the same time.
Here’s what that means in practice. Rubber and vinyl weather stripping dries out and shrinks faster than most national checklists assume. Metal springs, hinges, and rollers are fine with the heat but pick up grit from pollen and dust that turns a lubricant into an abrasive paste if you use the wrong product. Opener logic boards sit in a garage that bakes all summer, and the solder joints and contacts on older units start showing heat corrosion before anything else on the door fails. And homes in older Waco neighborhoods often have doors that were installed with the house, so the springs and cables on those systems are carrying a lot of cycles.
The other thing we see is a false sense of security from the annual visual glance. People look at the door, see nothing obviously wrong, and skip maintenance until something breaks. The failures that hurt are the ones that happen slow: a cable starting to fray inside its winding, a hinge pulling loose at a stile, a spring that’s lost tension gradually over a season. None of those show up unless you know what to look for. That’s what the rest of this guide covers.
One local note that matters for timing: Waco winters are mild, but the handful of cold snaps we do get each year are exactly when hardened seals crack open and sensor lenses fog over from the temperature swing. Almost every “my door suddenly won’t close” call in December traces back to a seal or sensor issue that was sitting quietly since summer.
Step 1: Lubrication That Survives Texas Heat
Most checklists just say “lubricate.” That’s the least useful instruction in garage door maintenance, because the wrong lubricant in Waco does more harm than none. Two types work here: a silicone-based spray lubricant, or a lithium-complex grease applied with a small brush. Both hold up under sustained heat and won’t gum up. What fails is using a general-purpose penetrating oil (WD-40 and similar products) or a light household oil. Those evaporate fast in a Texas garage, and while they’re still wet they catch cedar pollen and airborne grit, which turns into a sticky paste inside your hinges and on the spring coils. That paste accelerates wear on parts that would otherwise last years.
Here’s an ordered lubrication routine you can do yourself in about twenty minutes:
- Start with the springs. On a torsion spring (the horizontal spring centered above the door), apply lubricant along the coils using an extension nozzle. On extension springs (the two springs running above the horizontal tracks on either side), coat the coils lightly. Never reach into or near a spring under tension to wipe it down.
- Lubricate every hinge pivot. A small drop of lithium-complex grease or a short silicone spray at each hinge joint. Don’t over-apply – excess collects pollen.
- Wipe and oil the rollers. On metal rollers, a light silicone spray on the shaft and inside the roller housing. Nylon rollers don’t need lubrication, but check them for cracking (more on that in the next section).
- Hit the track bearings. Grease the bearing plates at the ends of the torsion bar and any rollers running the curved portion of the track.
- Leave the tracks themselves alone. Never lubricate the vertical or horizontal tracks. They should be clean and dry so the rollers can roll. Greased tracks attract grit and cause the door to jump and wear unevenly.
A practical schedule in Waco is every four to six months – spring and fall are sensible anchor points, since the spring session preps the door for summer heat and the fall session catches what three months of hot-weather use has loosened up.
Step 2: Rollers and Hinges – The Early Warning System
If we could show homeowners one inspection that predicts upcoming spring and cable failures, it’s this one. Rollers and hinges take more daily load than any other parts on the door except the springs themselves, and when they start failing they put uneven stress on the spring and cable assembly. A door running on worn rollers or a loose hinge is effectively asking the spring to do work it wasn’t designed for – and that’s when springs break two or three months later. Catching the wear early is the single most cost-effective maintenance session you can do.
What to check, and what each finding means:
- Roller surface: Steel rollers should be smooth and round. Grooves, flat spots, or a grinding sound means they need replacement. Nylon rollers should be inspected for cracks and discoloration – white or yellow nylon is heat-aged and brittle.
- Roller wobble: With the door closed, grasp each roller and try to rock it side to side in its hinge. Any real play means the roller stem or hinge is worn.
- Hinge metal: Look for cracks radiating from the screw holes, rust at the pivots, or hinges that have pulled the screw heads slightly proud of the door stile. All three signal the hinge is losing its grip.
- Hinge screws: Run a screwdriver across all hinge screws. Any that turn freely (spinning without tightening) need to be replaced with a slightly longer screw, or the hinge is loose and needs attention.
- Panel-to-stile joint: Where hinges attach, look for separation between the panel skin and the stile. On older doors in Waco, this joint will show age cracks in the wood or gaps in the metal crimp.
- Track-to-door relationship: With the door closed, the gap between the roller and each side of the track channel should be even. If the door sits noticeably closer to one side of the track, uneven hinge or roller wear is pulling it off center.
Do this inspection quarterly. If you find more than one problem in the list above – say worn rollers plus a loose hinge plus a gap at the track – the door’s balance is already compromised and it’s worth getting a professional look before the spring takes the extra load. We repair worn rollers and hinges on every brand we work with, including Wayne Dalton, Craftsman, and Raynor doors, and we fix the parts that need fixing rather than quoting a replacement.
Step 3: Testing Balance Correctly
“Lift the door halfway and see if it stays” is the instruction you’ll find on almost every garage door maintenance checklist, and it’s incomplete enough to be misleading. A balanced residential door won’t hold perfectly still at halfway – it’ll drift slightly, because the springs and the door weight are never a perfect match at every point. Knowing what acceptable drift looks like is what separates a useful test from a guess.
Here’s how to run the test properly. Steps 1 through 3 are safe to do yourself. Step 4 is where the test ends for a homeowner, and you should stop there.
- Disconnect the opener. Pull the red manual release cord and slide the trolley away from the door arm so the door moves on its springs alone.
- Raise the door by hand to roughly halfway. Move it slowly and let go only when it’s fully at rest position. Don’t force it past a sticking point – if the door feels unusually heavy or fights you, stop.
- Watch the drift. A properly balanced door should drift down less than about four inches from the halfway point before settling. It should not fall. If it drops a foot or more, or slams down, the spring tension is too low and needs attention. If it wants to rise on its own, the springs are over-tensioned.
- Stop and call. Any real drift correction – adjusting torsion spring tension on the spring bar with winding bars – is dangerous and requires trained hands. Never attempt a spring tension adjustment. If your test shows drift outside the healthy range, that’s the end of the homeowner test.
Run this check every four to six months, and any time the door feels different in your hand – heavier than usual, or suddenly light. A door that changes its own balance is telling you a spring is failing. We see this pattern constantly in Waco, and catching it at the drift stage is the difference between a spring repair and a broken-spring emergency call. If you’d rather have a trained technician run the full balance and spring tension check, that’s routine work for our team.
Safety note: The torsion spring on your door stores enough energy to cause serious injury, and it can release suddenly even if it looks intact. Cable and spring work is not a DIY task. Inspect from a distance, and call a trained garage door technician for anything involving the spring bar, the winding cones, or the cables.
Step 4: Weather Seal and Sensor Checks Before Cold Snaps
This is the step almost every generic checklist puts in the spring, and in Waco it belongs in the fall. The bottom weather seal is the part most affected by our summer heat. Three months of 95°F+ days in a closed garage cures the rubber, and by the time the first cold snap hits, the seal has hardened into something brittle that cracks and pulls away from the door. Then the door won’t seal at the bottom, cold air and daylight come under it, and small pests find their way in. If you only do one seal check a year, do it in October, before the first real cold front.
What to check on the weather seal and sensors:
- Bottom seal flexibility: Press a thumbnail into the rubber seal along the bottom of the door. It should feel soft and spring back. If it feels hard, cracked, or leaves a permanent dent, it’s reached the end of its life. Replacement seals are inexpensive and prevent drafts and pest entry.
- Seal contact: With the door closed, look at the ground along the seal’s full length. Light under the door in one or more spots means the seal isn’t making contact – either worn or the door is out of balance at the bottom.
- Side and top seals: Check the vertical seals on the jambs and the top seal if you have one. Look for cracks, splits, and gaps at the corners.
- Safety sensors: The two sensor eyes near the bottom corners of the track. Wipe them clean with a dry cloth – they collect cedar pollen and dust all summer. Then break the beam by hand (wave a hand across the line between them) with the door closing. The door should reverse immediately. If it doesn’t, sensors need adjustment or the lens needs attention.
- Sensor alignment: Both sensor eyes should be pointed at each other and lit – usually a steady indicator light on each. A blinking or dim light means misalignment or a dirty lens.
- Auto-reverse with an object: Place a piece of wood or a rolled-up towel a few inches high directly under the middle of the door and close it. The door should reverse when it contacts the object. If it doesn’t, the opener’s force setting is too high or the auto-reverse isn’t functioning.
Sensor issues are one of the most common reasons we get called out on garage door repair jobs. Often it’s nothing more than a wiped lens or an alignment nudge, but repeating failures usually point to a wiring issue or a sensor going bad. If the sensors keep failing after cleaning and alignment, they need replacing.
Step 5: The No-Tools Logic Board Inspection
The logic board on your opener is the part most likely to fail without warning and the least likely to be checked. In a Texas garage, summer heat cooks the components on older units, and the solder joints and terminals start showing corrosion before the board actually fails. That corrosion is visible if you know where to look, and catching it early can save you a no-open call.
You don’t need tools for this inspection. Just a flashlight and, on some units, a screwdriver to open the opener’s light lens cover or side access panel. This is an observation-only task – do not attempt to repair the board yourself, since the opener is a line-voltage electrical device.
- Kill the power at the breaker. Label the breaker or note which one it is – you’ll want it back on when you’re done. Never open the opener housing with the power on.
- Open the light lens or access cover. Most residential openers have a snap-out lens or a small panel you can remove by hand. On older Craftsman and LiftMaster units, this gives you a view of the logic board.
- Look for white or green crust. Corrosion appears as a whitish powder, greenish crust, or dark spots around the solder joints and where wire terminals meet the board. Any of those mean heat damage is underway.
- Check capacitor tops. On the opener’s circuit board, look for capacitors (small cylinders) with bulging tops or visible leakage. A bulging top means the capacitor is failing.
- Inspect the wire terminals. Where the safety sensor wires, wall button wires, and travel limit wires connect to the board, look for loose or discolored terminals. Tighten any that are obviously loose, and note any terminal that looks scorched.
- Look at the transformer windings. The small transformer on the board should look uniform, not blackened or discolored.
- Restore power and test. Close the cover, restore the breaker, and run the door through a full open-close cycle to confirm everything works.
Run this inspection twice a year, or any time the opener behaves oddly – random reversing, forgetting limit positions, or working intermittently. In our experience in Waco, a board showing any of the signs above is running on borrowed time. If you find corrosion, that’s a garage door opener repair call rather than a homeowner fix. Opener logic boards carry line voltage and require a trained technician to replace safely. We work on the major opener lines including LiftMaster, Chamberlain, Genie, and Craftsman.
The Seasonal Maintenance Calendar for Waco
Timing matters as much as the tasks themselves. The Waco climate has a distinct rhythm, and doing each task before the season that stresses it makes the whole checklist more effective. Here’s the calendar we recommend:
Before Summer Heat (April-May)
- Lubricate all springs, hinges, and rollers with silicone or lithium-complex grease. This is the most important pre-summer task – heat and grit work together, and a properly lubricated system handles three months of 95°F+ days much better.
- Inspect nylon rollers for heat cracking. Summer heat ages nylon. Replace any roller that’s discolored or cracked before the hot season.
- Test balance and springs. Catch a failing spring before summer stress pushes it to break.
- Run a logic board inspection. Board corrosion accelerates once the garage bakes.
- Clean sensor lenses. Cedar pollen is heavy in the spring, and the dust it leaves on the lenses through the summer causes sensor misreads.
Before Winter Cold Snaps (October-November)
- Inspect the bottom weather seal. The one Waco-specific task that every fall call traces back to. If it’s cracked or hardened from summer heat, replace it before the first cold front.
- Check all sensors and auto-reverse. This is the season when a borderline sensor fails outright – foggy mornings, temperature swings, dirty lenses.
- Lubricate again. The fall session resets everything that’s dried out over summer.
- Inspect hinges and roller wobble. Summer load wears these faster than any other time of year.
- Retest the balance. If the door was already drifting in the spring, fall is when it fails.
Ongoing (Monthly or Quarterly)
- Wipe sensor lenses monthly – cedar pollen coats them fast.
- Test auto-reverse and safety sensors monthly.
- Run the balance test quarterly.
- Do a visual hinge and roller inspection quarterly.
- Clean the tracks with a dry cloth – never lubricate them.
The two-session schedule (spring and fall) isn’t the only valid pattern, but it works because it lands each major inspection before the season that produces the failures. If you’re not sure your system is due, our team at Waco Garage Door Service can tell you where it stands in a free estimate.
Common Mistakes to Avoid
We see these again and again in Waco. Each one either causes a real failure or wastes money on a repair you didn’t need.
- Lubricating the tracks. Tracks should be clean and dry. Grease on the tracks attracts grit and pollen and causes the door to jump and wear unevenly. Clean them with a dry cloth, never an oiled one.
- Using WD-40 or penetrating oil on the springs and hinges. It evaporates fast in Texas heat and, while wet, catches cedar pollen that turns into an abrasive paste. Use silicone spray or lithium-complex grease instead.
- Adjusting torsion spring tension as a DIY project. The spring bar stores enough energy to cause serious injury. Inspect from a distance, and call a trained technician for any spring adjustment. That’s not a task to be brave about.
- Skipping the fall weather seal check because the door “worked fine all summer.” This is the #1 October call in Waco. The seal looks fine until the first cold snap cracks it open – check every October regardless of how the door is behaving.
- Assuming opener problems mean a new opener. Replacing an opener because a sensor is dirty or the logic board has a single corroded terminal is throwing money away. Get the unit diagnosed before replacing.
- Hiring a generalist handyman for garage door work. A handyman who “does doors too” often guesses at spring tension, cable tension, or opener wiring. A single-trade garage door technician has the tools and knowledge to fix the specific system you have. This is also why brand fluency matters – a technician who knows Wayne Dalton, Craftsman, and Raynor hardware looks at your door differently than one who doesn’t.
- Believing a rubber bottom seal is a “crawl under and adjust” fix. If the seal isn’t contacting the floor, the issue is often door balance or a hardening seal, not the track’s bottom limit. Adjusting the opener’s close force to compensate just masks the problem and stresses the opener. Diagnose the real cause.
See the difference
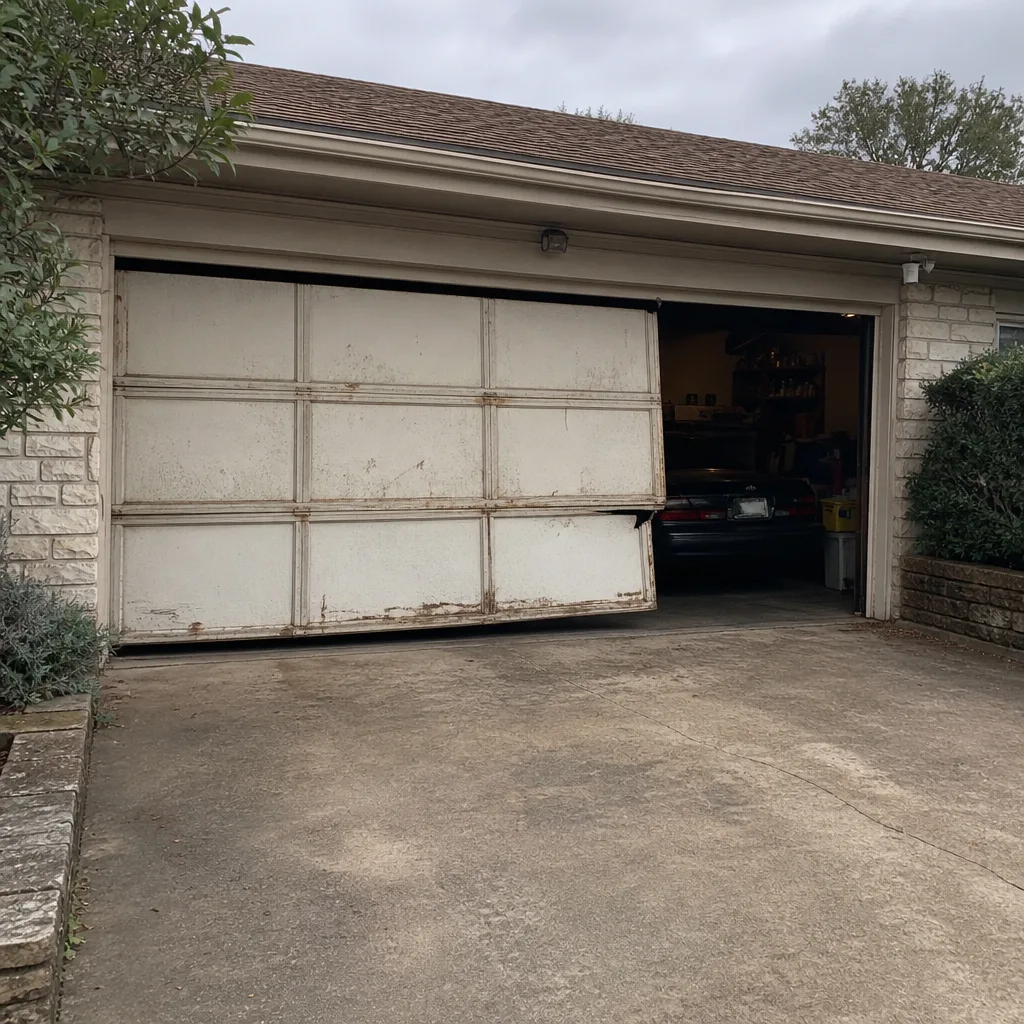 Before
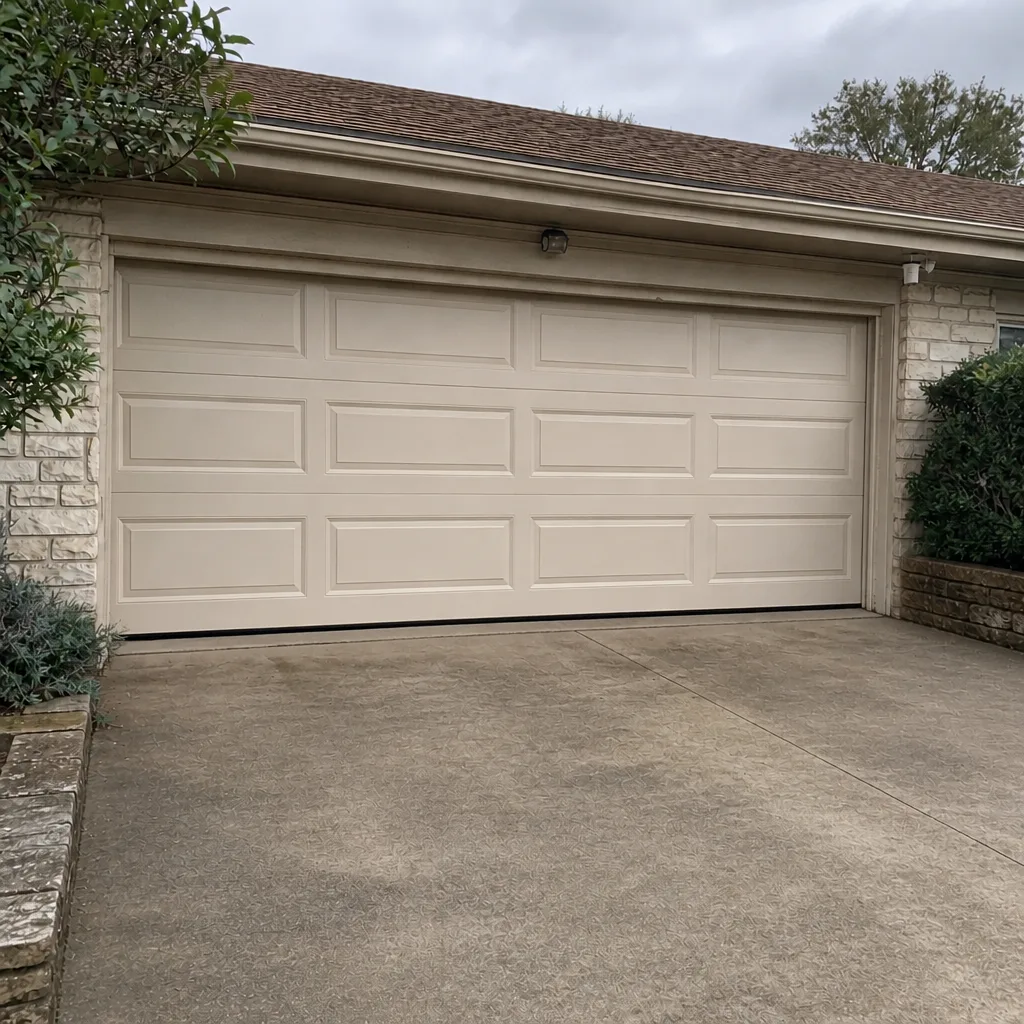 After
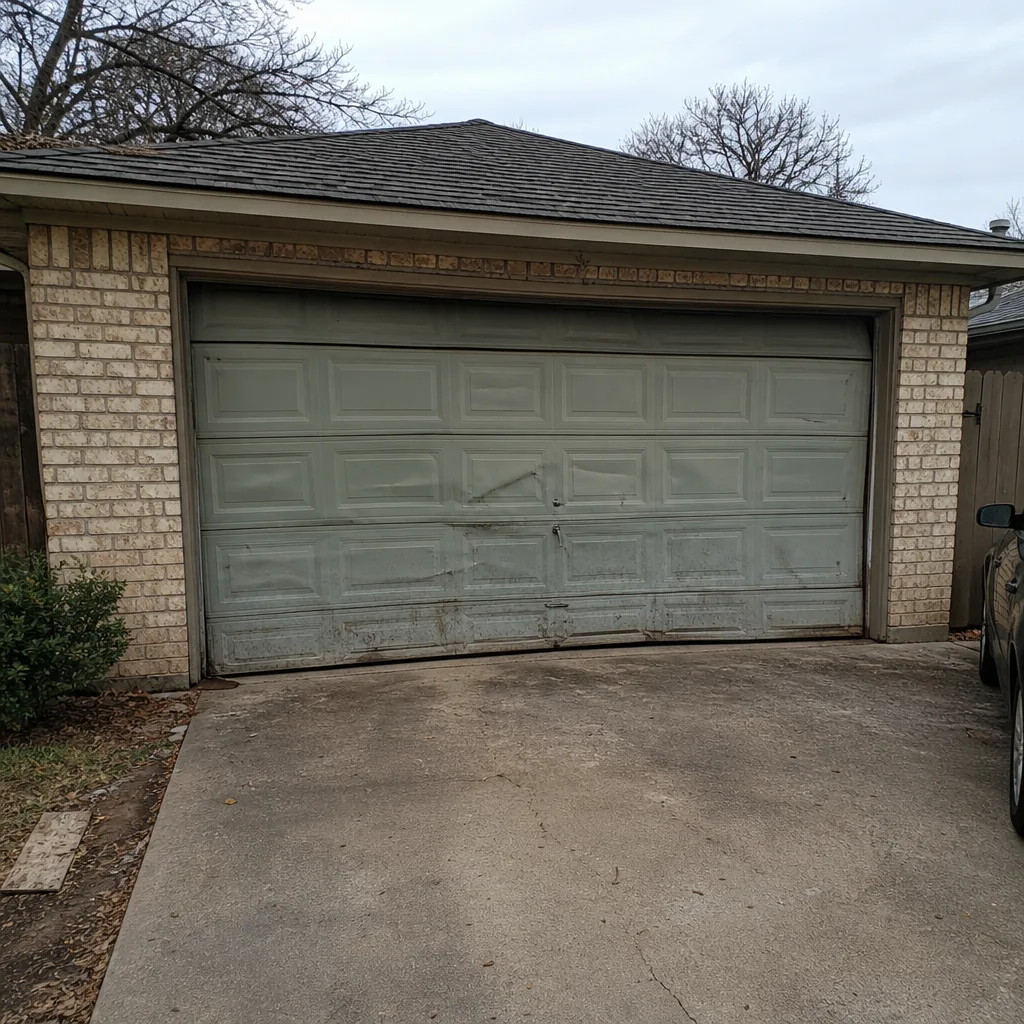 Before
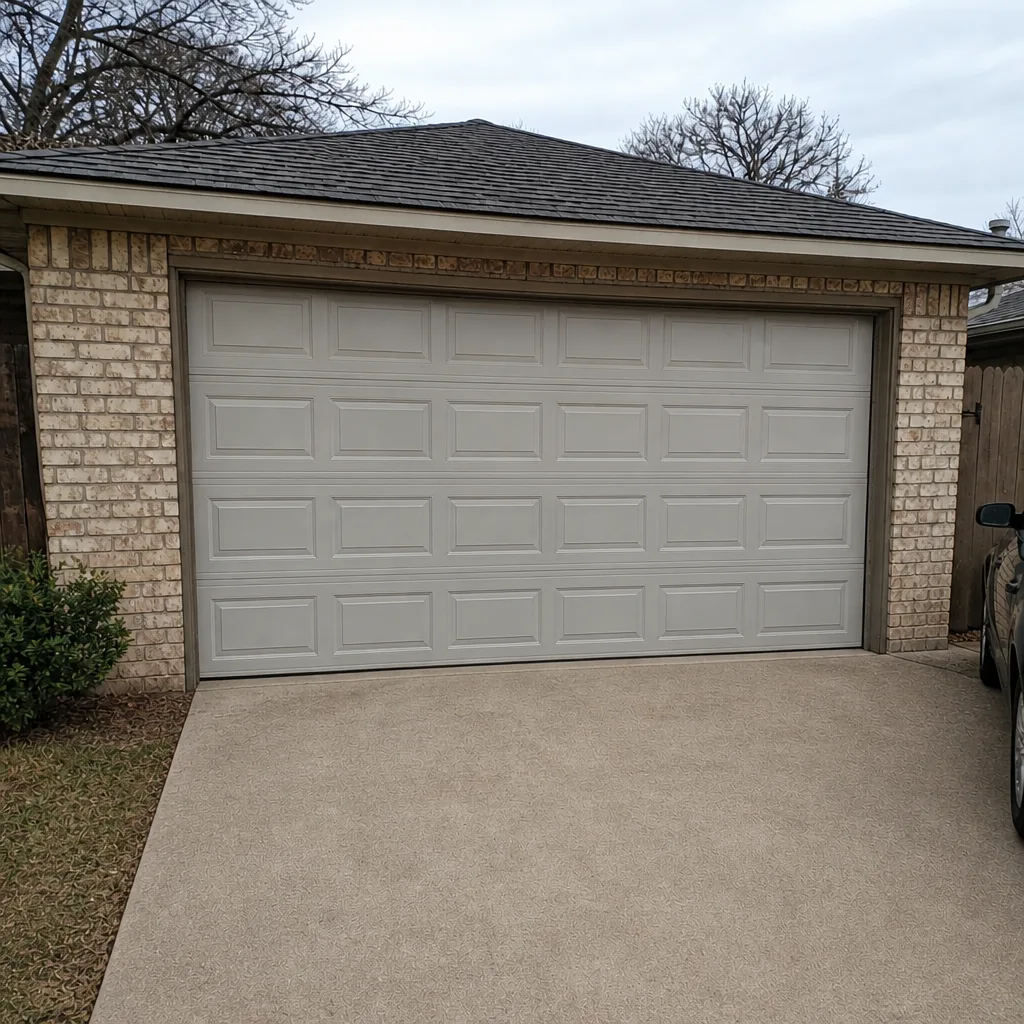 After
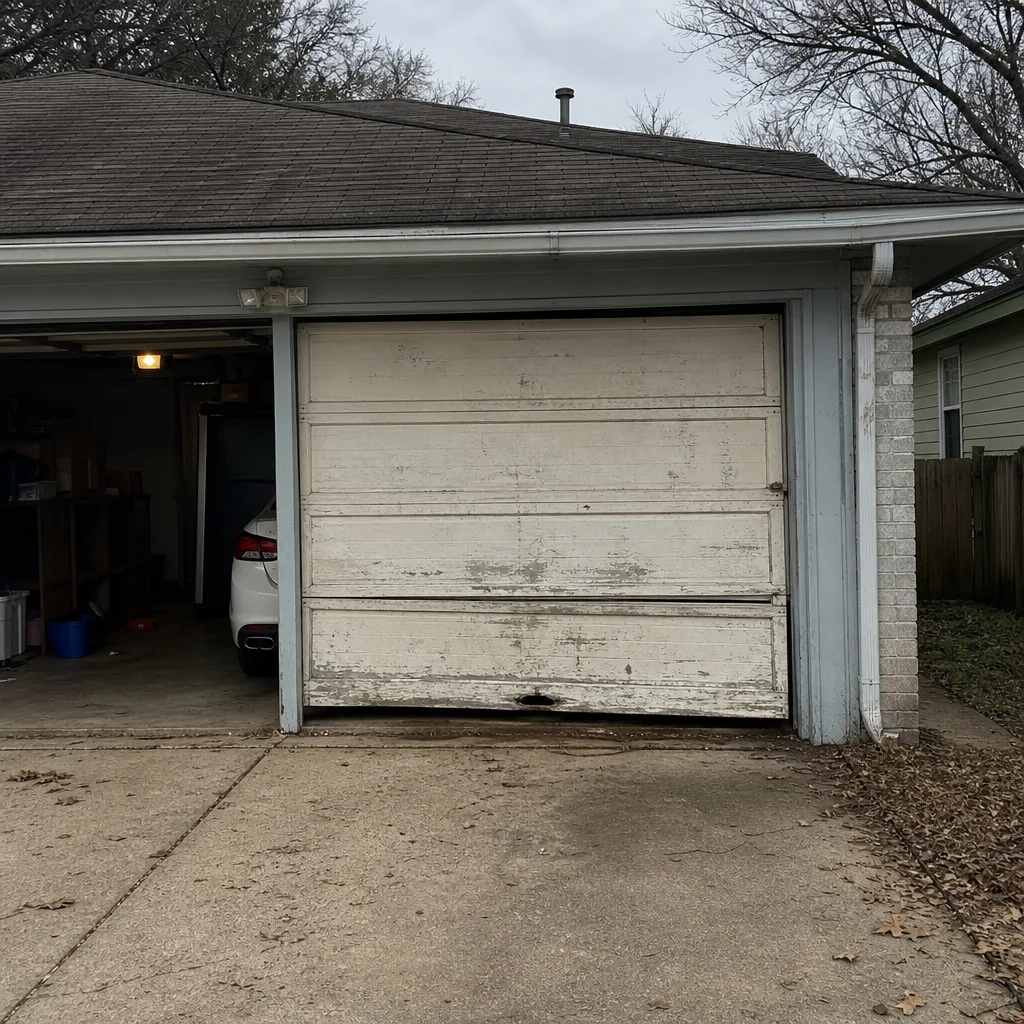 Before
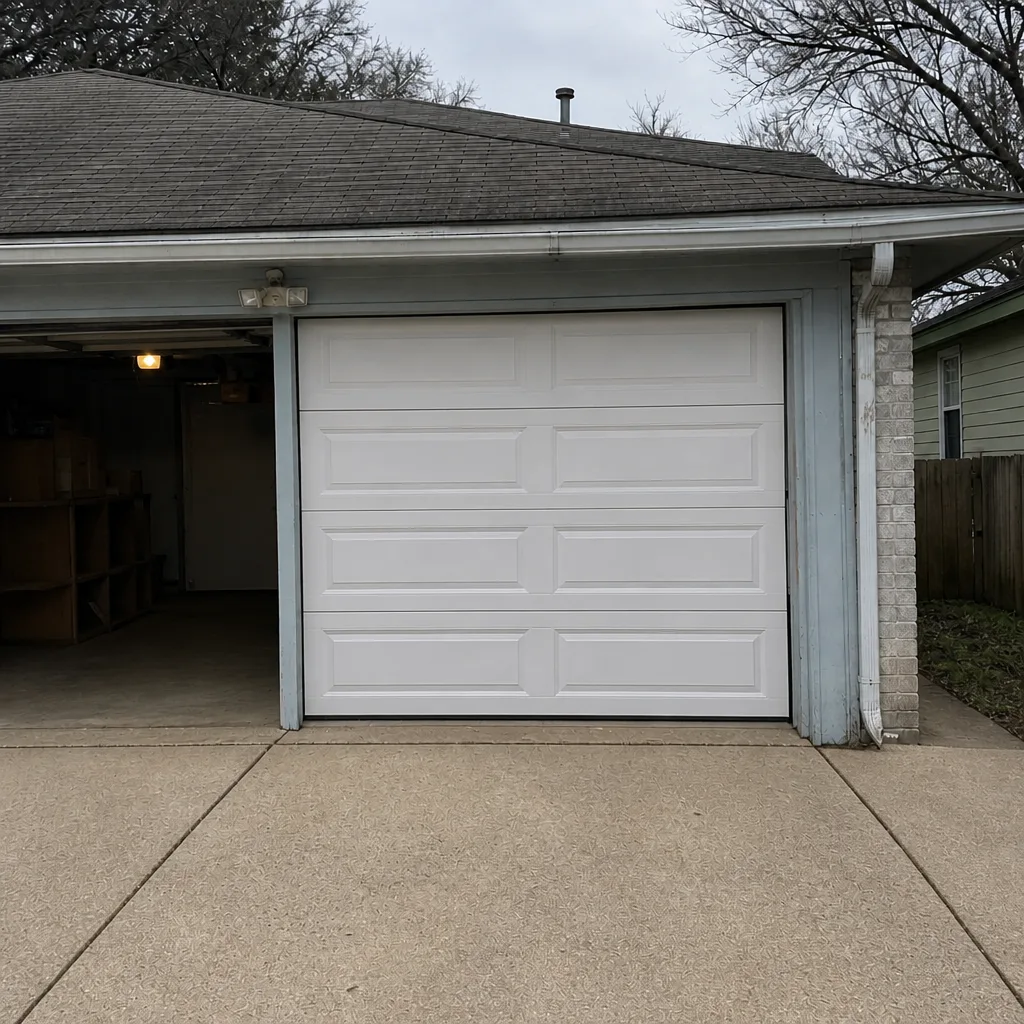 After
When to Call a Professional
Some garage door work is genuinely DIY, and some absolutely isn’t. The line is clear: anything involving springs, cables, the torsion bar, or line-voltage electrical work belongs to a trained garage door technician. That covers broken or sagging springs, cables that are frayed or off their drum, a door that hangs crooked after a spring breaks, opener logic board or wiring issues, and any heat-damaged component inside the opener housing.
Call us when a balance test shows drift outside the healthy range, when the auto-reverse doesn’t engage, when the door stops, reverses, or fails to close without warning, or when you find corrosion on the logic board during the no-tools inspection. Also call when you’re not sure – a free estimate beats a guess. Waco Garage Door Service offers free estimates in Waco – call (855) 916-7192. We answer 24/7. Fast dispatch from 7am to 7pm, Sunday through Friday.
We work on your brand, whether that’s LiftMaster, Chamberlain, Genie, Clopay, Amarr, Wayne Dalton, Craftsman, or Raynor – so the technician who shows up knows the parts on your door and diagnoses what’s actually failing rather than guessing at it. Our technicians have up to 11 years of experience, and every one is dispatched as a garage door technician, not a generalist with too many trades. And we fix what needs fixing. You won’t get a full-door quote because a roller or hinge is worn.
Frequently Asked Questions
Twice a year – once in spring before summer heat and once in fall before cold snaps – plus monthly sensor and auto-reverse tests. That schedule catches the heat-driven seal failures, spring wear, and logic board corrosion we see most in Waco. Call (855) 916-7192 for a free estimate if you’re not sure when your door was last checked.
Silicone-based spray lubricant or lithium-complex grease. Both hold up under sustained heat in a closed garage and won’t gum up or collect grit. Avoid WD-40 and general-purpose penetrating oils – they evaporate fast and, while wet, catch cedar pollen and dust into a paste that accelerates wear on hinges and rollers. Call us if you’re not sure what to use on your specific door.
Run the balance test: disconnect the opener, raise the door to halfway by hand, and let it settle. A properly balanced door drifts down less than about four inches. Any real drop, or a door that suddenly feels heavier or lighter than before, means the spring is failing. Don’t adjust the spring yourself – call (855) 916-7192 for a professional inspection and free estimate.
Because the rubber weather seal hardened and cracked during the summer heat. Three months of 95°F+ days in a garage cures the rubber, and the first cold snap makes it brittle. Check the seal every October – if it feels hard or cracked with a thumbnail test, replace it before the cold weather sets in. This is the #1 October call we get in Waco. Call (855) 916-7192 if you’re not sure whether yours needs replacement.
Yes – with the power off, open the light lens cover and look for white or green corrosion crust on the board, bulging capacitor tops, or scorched terminals. That’s an observation-only check; don’t attempt any repair yourself, since the opener carries line voltage. If you find corrosion, that’s a garage door opener repair call – (855) 916-7192 for a free estimate.
Yes. We work on LiftMaster, Chamberlain, Genie, Clopay, Amarr, Wayne Dalton, Craftsman, and Raynor – both existing doors and existing openers – and we repair rather than pushing replacement when the existing equipment can be fixed. That means the technician who shows up knows your brand’s hardware and doesn’t have a commission incentive to steer you toward a particular product line. Call (855) 916-7192 for a free estimate.
The Bottom Line
Garage door maintenance is a short list of tasks done on the right schedule, not a long list done occasionally. The two things that most affect a Waco door are heat-driven wear on the weather seal and logic board, and pollen-and-dust buildup on moving parts. Lubricate with silicone or lithium-complex grease (never WD-40, never the tracks), inspect rollers and hinges quarterly to catch spring failures 60-90 days before they happen, run the balance test every few months and stop at the point where the spring needs adjusting, check the seal and sensors every October before cold snaps, and do the no-tools logic board inspection twice a year. Skip the spring and cable repairs and the opener electrical work – those belong to a trained garage door technician, and our team at Waco is ready whenever you need us.
If you’d like a technician to walk the full checklist with you, or you’ve found something that needs repair, call (855) 916-7192 for a free estimate. We answer 24/7. Fast dispatch from 7am to 7pm, Sunday through Friday. We work on your brand, we repair first, and every price is quoted and agreed before any work starts.
Written by the team at Waco Garage Door Service.