
Last updated November 16, 2026
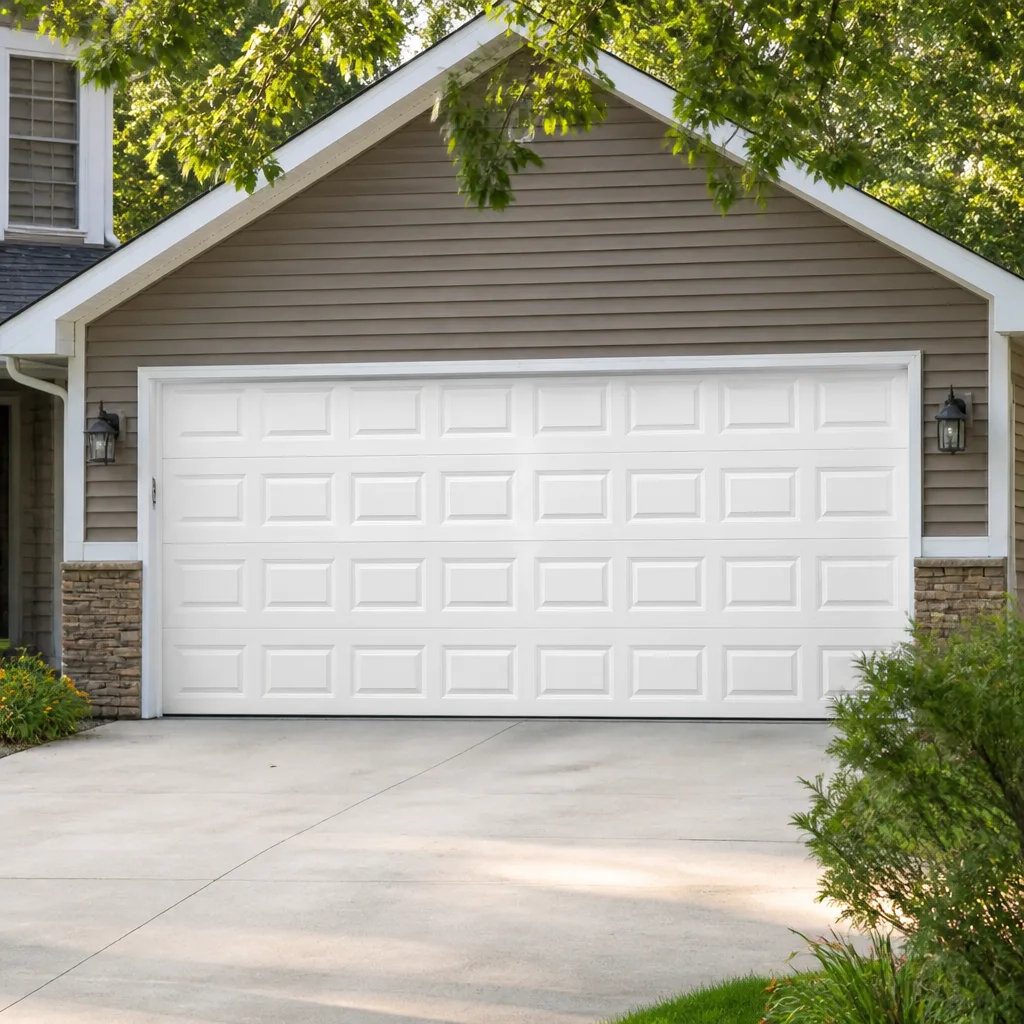 Raised-panel steel
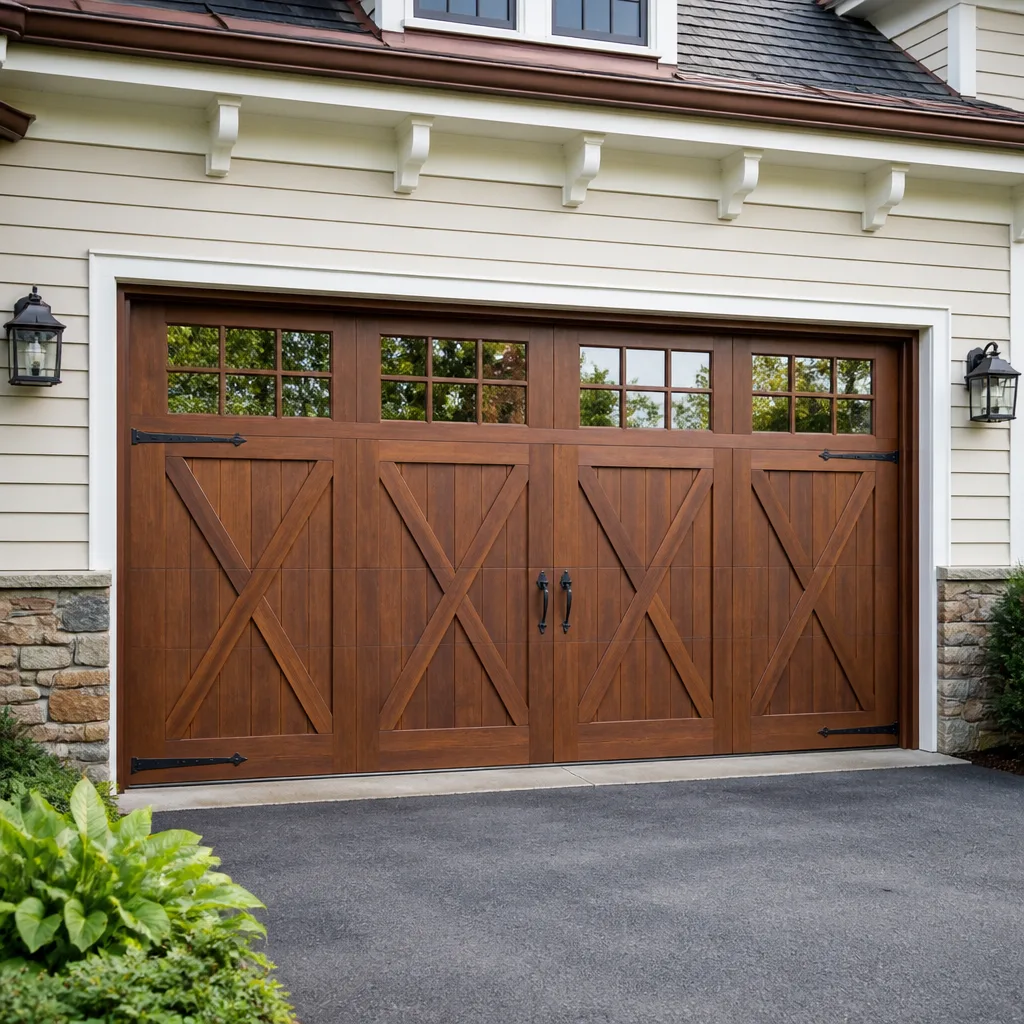 Carriage house
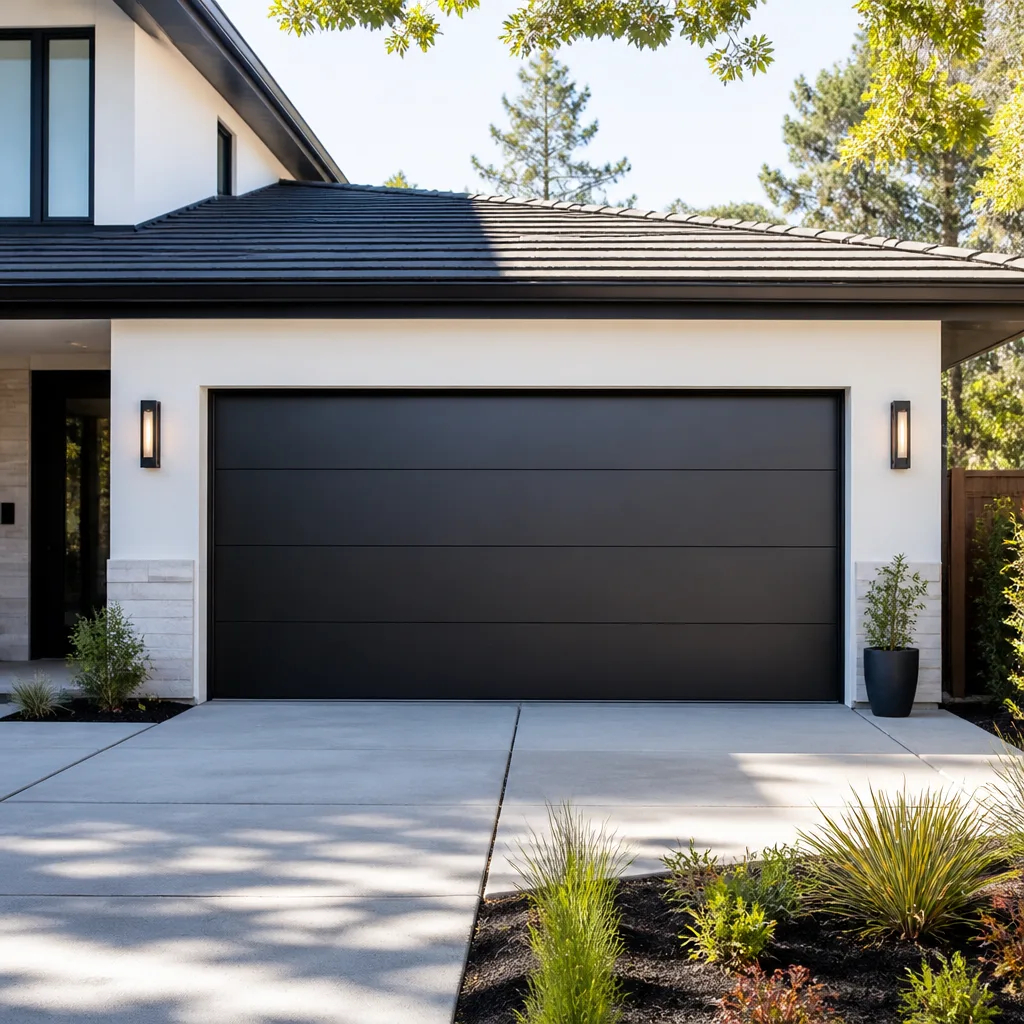 Modern flush
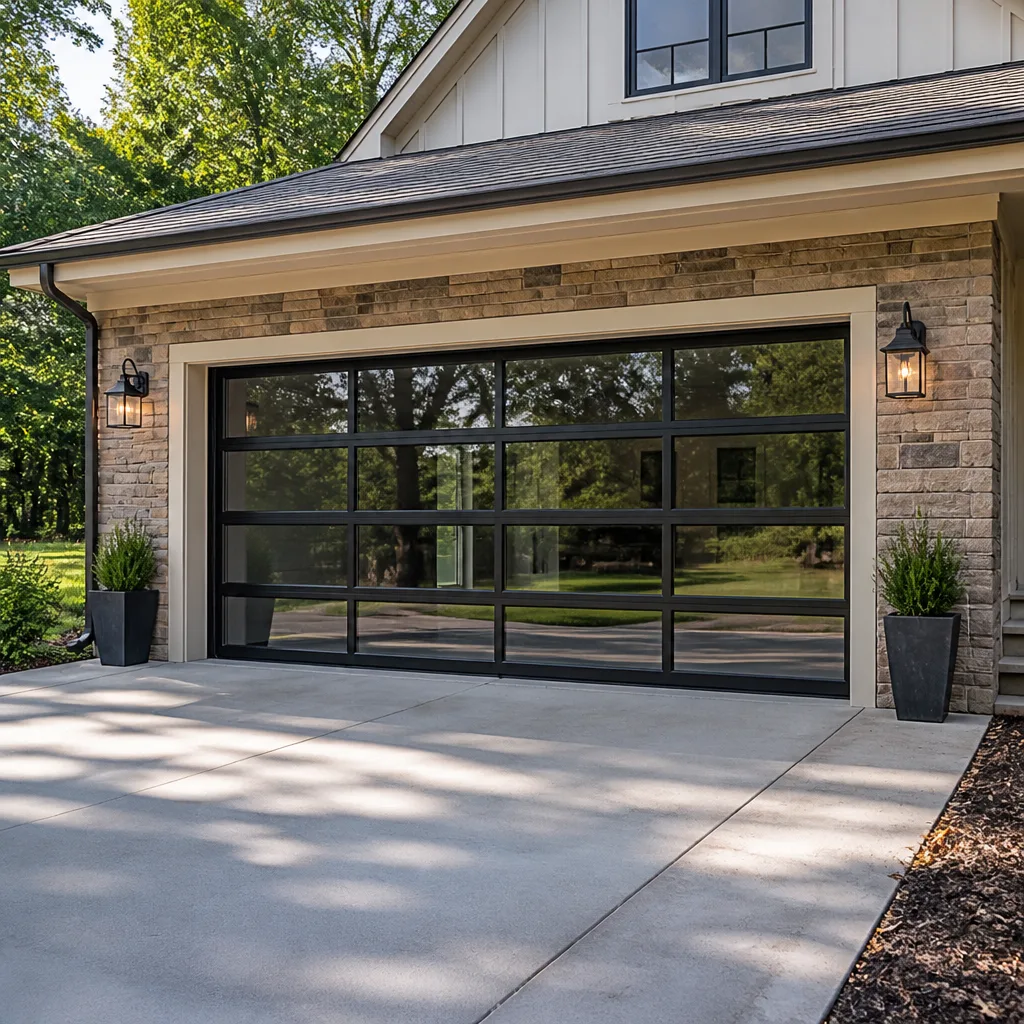 Full-view glass
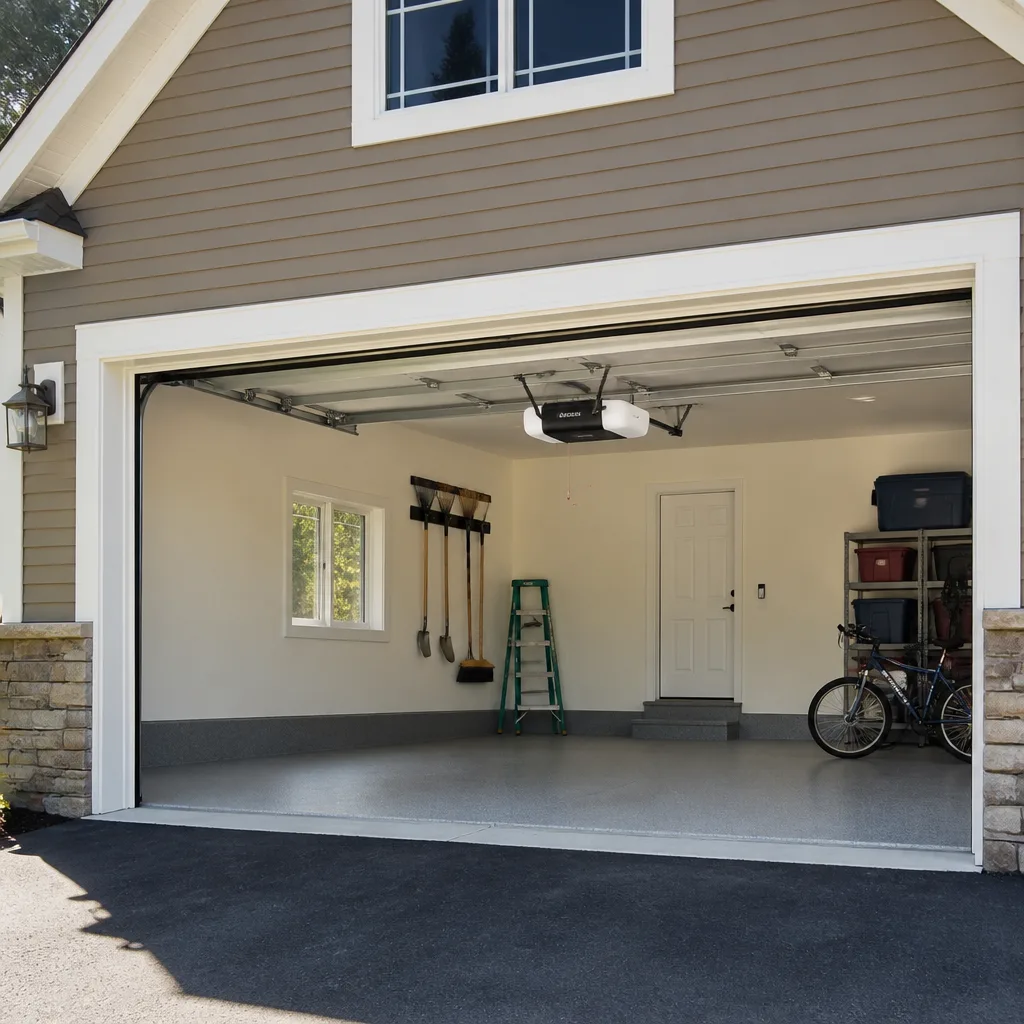 LiftMaster openers
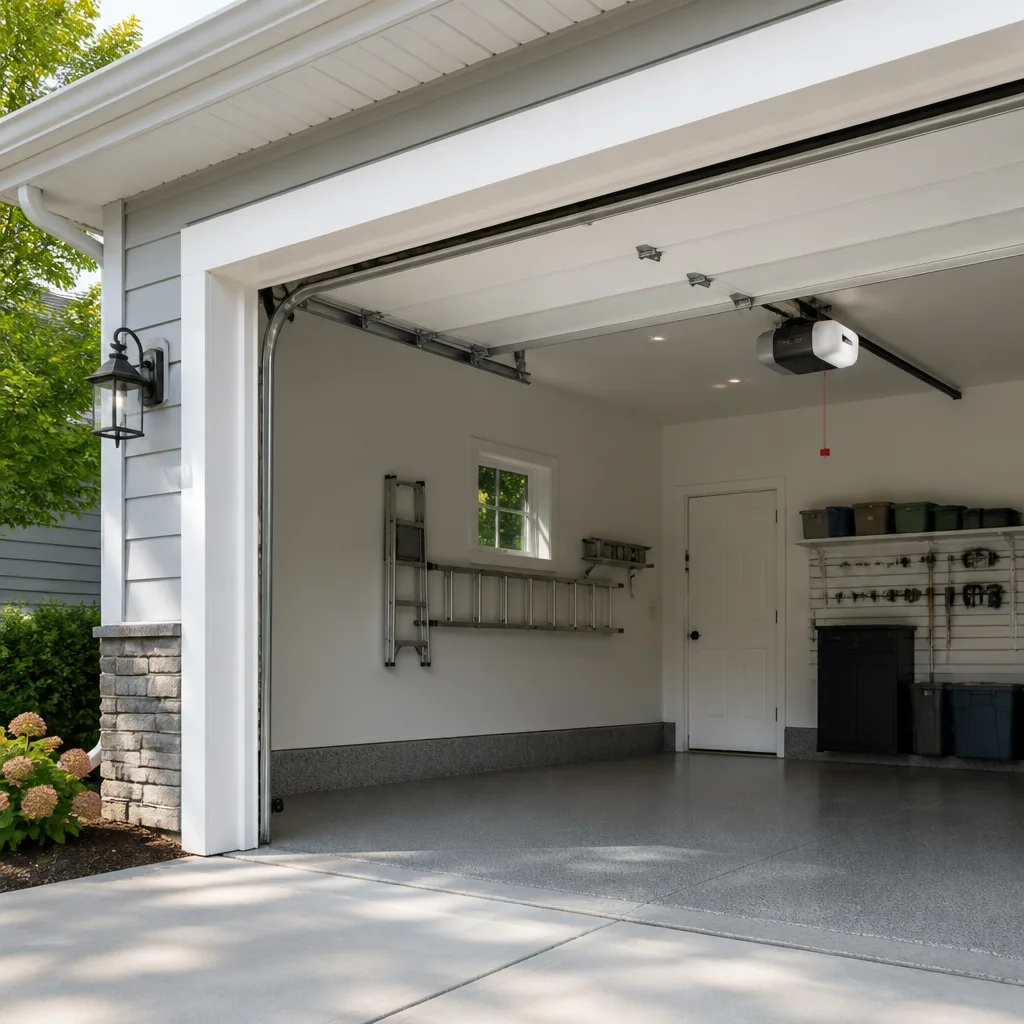 Chamberlain openers
Full 25-point door and opener safety check with every visit - springs, cables, rollers, tracks, and your LiftMaster or Chamberlain opener included
You get a price before we start. It does not change when the pro arrives.
Get your free estimateGarage Door Repair Troubleshooting in Waco: Common Problems and How to Fix Them
A garage door that reverses before it touches the ground usually isn’t broken. It’s obeying a safety sensor that’s been nudged slightly out of alignment. That gap between what a door appears to be doing and what it’s actually doing trips up more Waco homeowners than any other single problem we see, because it sends people toward the wrong fix or an unnecessary replacement. Reading your door like a technician means working backward from the behavior you observe to the mechanical cause underneath it. This guide walks you through that diagnostic chain, symptom by symptom, and shows you which fixes are safe to handle yourself and which ones belong in the hands of a trained technician.
Quick Answer
Most garage door problems fall into one of four categories: safety sensor misalignment, a worn torsion spring, a track or roller issue, or an opener logic fault. You can safely diagnose and fix sensor alignment, lubrication, and limit switch settings yourself. Torsion spring replacement and cable re-spooling are genuinely dangerous and should go to a professional. If you’re in Waco and the door won’t respond at all, the fastest path to an answer is a call to (855) 916-7192, where we walk you through the symptom before anyone books a visit.
Styles & brands we work with
- Raised-panel steel
- Carriage house
- Modern flush
- Full-view glass
- LiftMaster openers
- Chamberlain openers
Table of Contents
- The Symptom-to-Cause Diagnostic Tree
- Five Waco Factors That Accelerate Wear
- What You Can Fix Yourself vs. What Needs a Technician
- Reading Your Opener’s Blink Codes
- The 60-Second Door Balance Test
- Springs and Cables: Why These Are Never DIY
- Sensor Alignment and Lubrication
- When to Call a Professional
- Frequently Asked Questions
The Symptom-to-Cause Diagnostic Tree
Every garage door failure announces itself through a behavior. A door that won’t open is telling you something different from a door that opens partway and stops. Work through the behavior first, and the mechanical cause usually falls out of it. Here’s how we read symptoms in the field.
- Door won’t move at all: Dead opener logic, a tripped breaker, a disconnected safety sensor, or a manual lock engaged on an older door. Check the wall switch and the breaker panel before suspecting the motor.
- Door opens a foot, then reverses: Almost always the safety eye circuit. Something is blocking the beam, the sensors are misaligned, or one sensor has lost power.
- Door reverses before hitting the floor: Sensor alignment, or the travel limit is set too short. A two-degree knock on the sensor bracket is enough to cause this.
- Grinding or scraping noise: Dry or worn rollers, a bent track, or a torsion spring that has partially failed. Grinding left alone shreds rollers and widens the damage.
- Door sags on one side: A broken spring or a stretched cable on that side. Stop using the opener until it’s resolved, because running it unbalanced destroys the opener gear.
- Opener runs but door stays put: A stripped opener gear, a broken spring, or a disconnected arm. The motor is fine; the linkage or spring has failed.
- Door slams down instead of easing: The extension spring or torsion spring has lost tension, or the opener’s down-force limit is set too high.
In our experience, roughly the same handful of symptoms account for the majority of calls we take in Waco. When a homeowner can tell us the exact behavior over the phone, we can usually name the likely cause before the technician pulls into the driveway. That saves diagnostic time and it protects you from paying for a repair you didn’t need.
Five Waco Factors That Accelerate Wear
Garage doors wear everywhere, but the way they wear in Central Texas is specific. Understanding the local conditions helps you predict which parts will fail and when. Here are the five factors we watch for on Waco doors.
- Heat expansion in summer. Metal door panels and tracks expand in long stretches of triple-digit heat. Expanded tracks can pinch rollers, and panels shift slightly, which throws off the door’s balance over time. If your door seems to bind in July and August but runs clean in November, expansion is usually the culprit.
- Red clay dust in the tracks. Waco’s soil is heavy clay, and it blows. That fine red dust settles into tracks and rollers and acts like sandpaper. Rails that look clean can still have a gritty paste of dust and old grease. Cleaning and re-lubricating twice a year makes a real difference here.
- Humidity warping wooden panels. Wooden and wood-composite doors respond to the region’s humid stretches by swelling, and they shrink back when it dries out. Over time, panels warp and the door loses its square. If your wood door has started sticking, it isn’t the opener; the door itself has changed shape.
- Storm-related power surges. Central Texas storm season sends surges through the grid. Openers carry sensitive logic boards that don’t tolerate spikes. A dead opener after a storm is almost always a board, not a motor. A plug-in surge protector on the opener outlet is cheap insurance.
- Limestone settling that shifts frames out of plumb. Waco sits on limestone, and homes here experience gradual settling. When the door frame shifts slightly, the door drags on one side. That drag loads the opener and wears the rollers unevenly. A door that needs to be re-squared is a foundation question, not a spring question.
None of these are one-time problems. They’re ongoing conditions, and the maintenance routine that keeps a door running in Waco looks different from the one a homeowner in a dry climate would follow. Plan on cleaning tracks and checking balance seasonally, and pay attention to your door after any big storm.
What You Can Fix Yourself vs. What Needs a Technician
Not every repair is created equal, and knowing which side of the line you’re on protects both your budget and your safety. Here’s the honest split.
Safe for a homeowner
- Aligning safety sensors by hand and tightening the bracket
- Cleaning tracks and lubricating rollers, hinges, and the torsion bar with a proper garage door lubricant
- Adjusting the opener’s travel limit switch, using the opener manual
- Resetting a tripped breaker or replacing the opener’s wall switch battery
- Clearing obstructions from the door’s path
- Testing the door’s balance and reversing behavior
Requires a trained technician
- Torsion spring replacement – the spring stores enormous energy even when the door is down, and a sudden release can cause serious injury
- Extension spring replacement – same risk category
- Cable re-spooling or replacement – cables are under high tension and can snap violently
- Track straightening or replacement – a bent track can drop the door
- Opener logic board or gear replacement – requires testing at the circuit level
- Re-squaring a door frame that has shifted out of plumb
The dividing line is tension. Anything storing energy that can release suddenly – springs and cables above all – belongs with a professional. We say that not to sell you a repair, but because we’ve seen the injuries. A torsion spring is a genuinely dangerous component, and no homeowner should be reaching for it with a pair of winding bars they bought online.
Reading Your Opener’s Blink Codes
Modern openers diagnose themselves. Your opener is already telling you what’s wrong; you just need to know how to listen. Most units display an LED that flashes a specific number of times, then pauses, then repeats. Counting those flashes gives you a diagnosis before you pick up the phone.
The onboard LED behavior is most useful on LiftMaster and Chamberlain units, two of the most widely installed opener lines in the U.S. Both brands use a similar blink-code logic, and the code maps directly to a fault category. On a LiftMaster or Chamberlain unit:
- Watch the LED on the back panel or under the light lens. Count the number of flashes before the pause.
- Cross-reference the count with the owner’s manual. Every model lists what each blink count means.
- Note whether the door light is also blinking, and whether the wall control is functioning.
- If the code points to a sensor issue, check alignment and obstruction first – that solves most sensor faults.
- If the code points to a logic or board fault, stop and call. Board replacement isn’t a homeowner repair.
Craftsman and Genie openers have their own fault indicators, though the systems differ. Genie uses a diagnostic code pattern on newer units, while older Craftsman openers often only signal a fault through behavior rather than a code. Knowing your opener brand and model number matters here. We keep the manual references for LiftMaster, Chamberlain, Genie, and Craftsman openers on hand because those four cover the vast majority of residential units we see in Waco. When you call, have the brand, model, and blink count ready, and we can usually skip a diagnostic step. If you’d rather hand the whole thing off, our garage door opener repair team handles every major opener brand on the market.
The 60-Second Door Balance Test
Half of the repair calls we get in Waco turn out to be a door problem misread as an opener problem. There’s a simple test that tells you definitively which one is failing, and it takes under a minute.
- Disconnect the opener by pulling the red release cord. The door should now move by hand.
- Lift the door to about waist height and let go.
- A properly balanced door will stay roughly where you left it. If it drops, the springs have lost tension. If it wants to fly up, the springs are over-tensioned.
- If the door stays put, your springs are fine and the problem is in the opener or its settings.
- With the door disconnected, try lifting it all the way by hand. If it’s very heavy or sticks at a certain point, the door has a mechanical problem – rollers, track, or spring – and the opener has been masking it.
Modern openers are designed to work with a balanced door and punish an unbalanced one. A homeowner who runs the opener on a spring that’s losing tension will burn through opener gears and, eventually, the motor. The balance test tells you in under a minute which problem you actually have, and it’s the first thing our technicians ask about when we take a call.
Springs and Cables: Why These Are Never DIY
We’re going to be direct: springs and cables are not homeowner repairs. We say this to every customer who asks, including the handy ones. A torsion spring holds enough stored energy to seriously injure or kill someone when it’s released incorrectly, and that risk is present even when the door is down and the spring looks relaxed. That’s why we never walk a homeowner through a spring replacement over the phone, no matter how mechanically inclined they are.
What we will do is explain the diagnosis. On a torsion spring system, the spring is a single unit mounted above the door and running along a torsion bar. On an extension spring system, two springs sit along the horizontal tracks on either side. In either case, when a spring fails, the door becomes extremely heavy and running the opener will damage it further. Stop using the door at the first sign of failure.
Cables are similar. A door cable runs from the bottom corner of the door up to the drum. If a cable comes off its drum – “jumps the spool” – or snaps, the door can drop or become dangerously unbalanced. Re-spooling a cable requires releasing tension, reseating it on the drum, and re-tensioning with the correct tools. When a homeowner asks us about doing this themselves, the answer is that the door could drop on them mid-process. Every garage door repair we take on that involves springs or cables starts with making the door safe, and that’s not something we’d recommend a homeowner rush.
Sensor Alignment and Lubrication
These two are the safe maintenance tasks that keep smaller problems from becoming bigger ones. Sensor alignment fixes the most common symptom in the book – the door that reverses before hitting the floor – and lubrication prevents the grinding and squealing that leads to roller and hinge replacement.
Sensor alignment, step by step:
- Locate the two safety sensors at the bottom of the door tracks, roughly six inches off the floor.
- Check that both are pointed at each other and the indicator LED on each is solid, not blinking.
- If one LED is blinking or dark, adjust that sensor’s bracket by hand until both lights are steady.
- Check for obstructions between them. Spiderwebs, dust, and leaves are common offenders.
- Close the door and test by passing an object through the beam. The door should reverse immediately.
Lubrication is equally simple. Use a garage door lubricant on the rollers, hinges, and the torsion bar – not WD-40, which attracts dirt. If your door is wooden and humidity-warped, the tracks may need cleaning and re-lubricating more often. Expect to clean the tracks themselves of red clay dust once or twice a year in Waco. This is also the task to do after a windy week, when the local dust finds its way into the rails.
When to Call a Professional
Call a professional if any of the following are true: your springs are broken or sagging, a cable is off its drum, the door is unbalanced after the release test, the door has come off its track, the opener is making grinding or clicking noises, or you’ve tried a sensor and limit adjustment and the door still misbehaves. Also call if the door frame appears out of plumb, since that usually signals settling that needs a proper diagnosis. Springs and cables especially should never be a homeowner repair, no matter how confident you feel.
Waco Garage Door Service offers free estimates in Waco, and we’re happy to talk through your symptom over the phone before anyone schedules. Call (855) 916-7192. We answer 24/7, with fast dispatch from 7am to 7pm.
See the difference
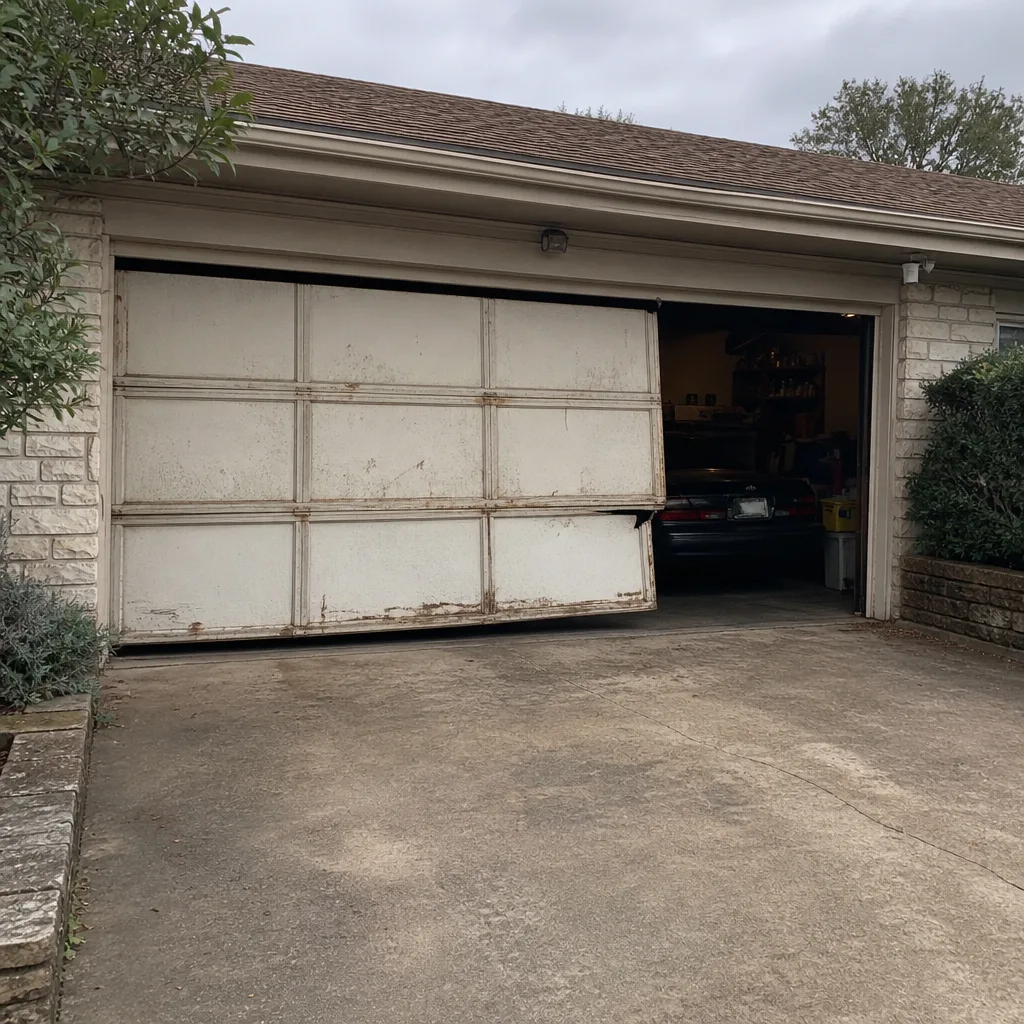 Before
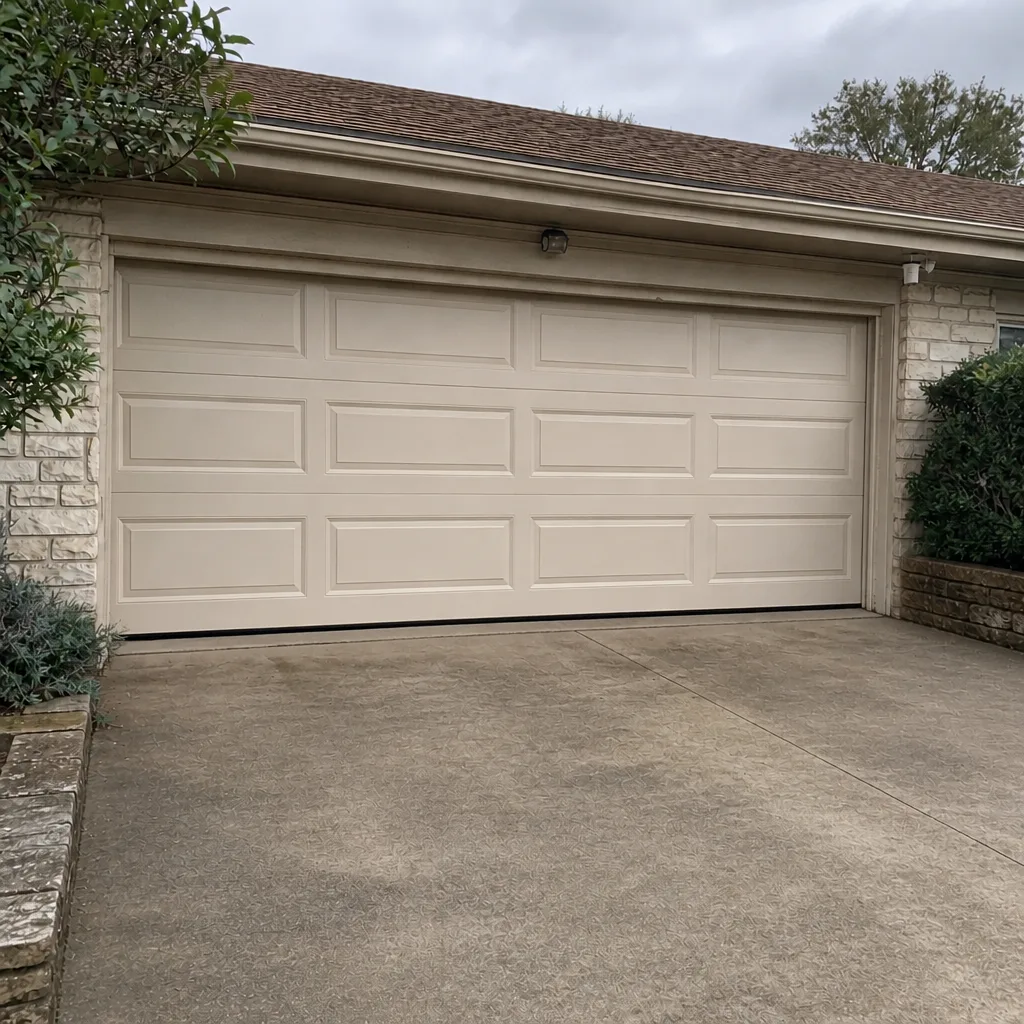 After
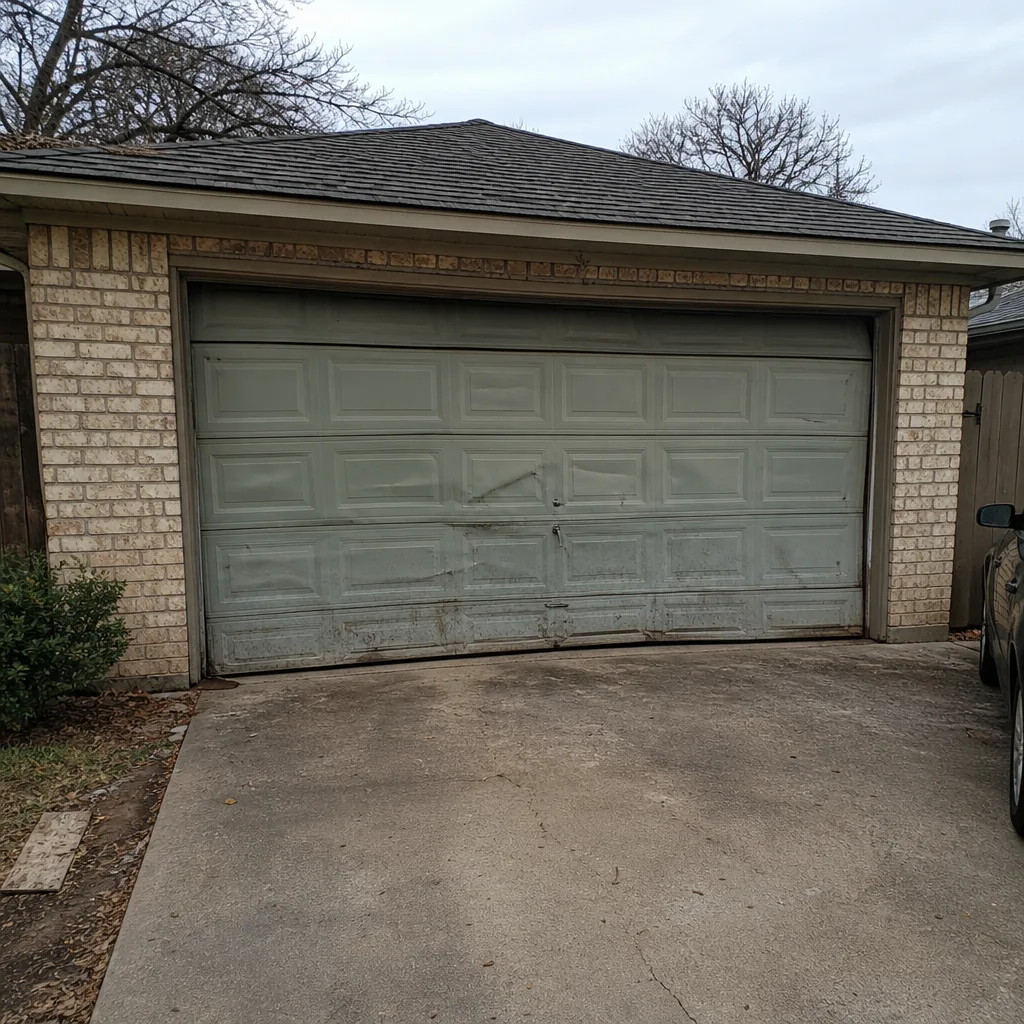 Before
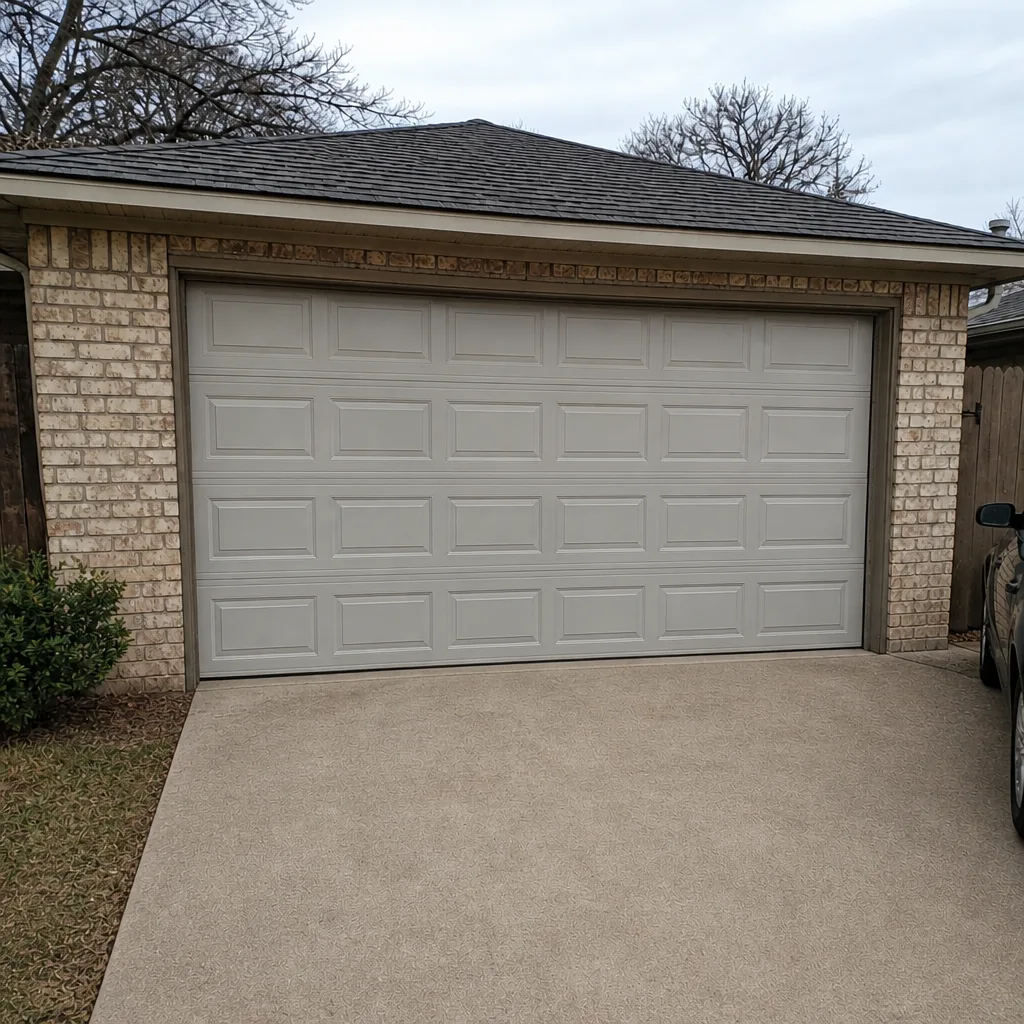 After
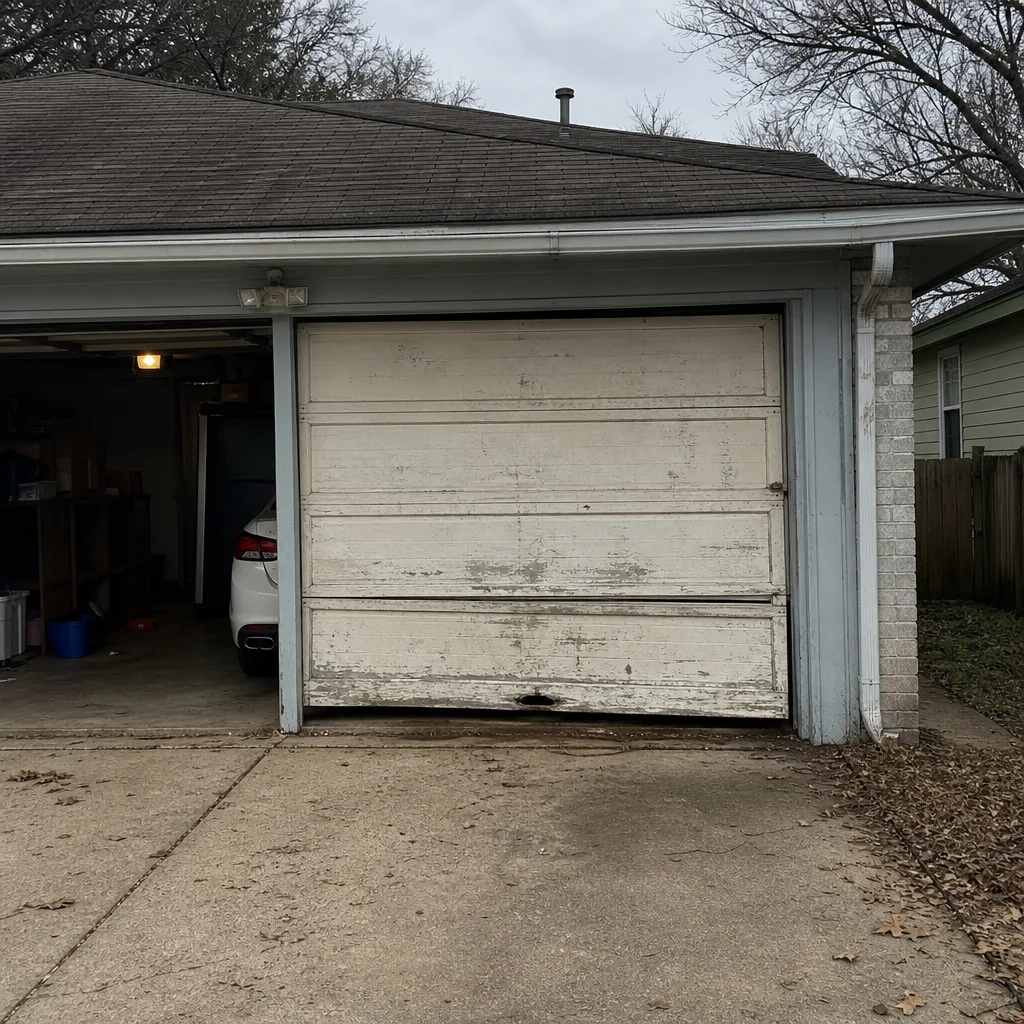 Before
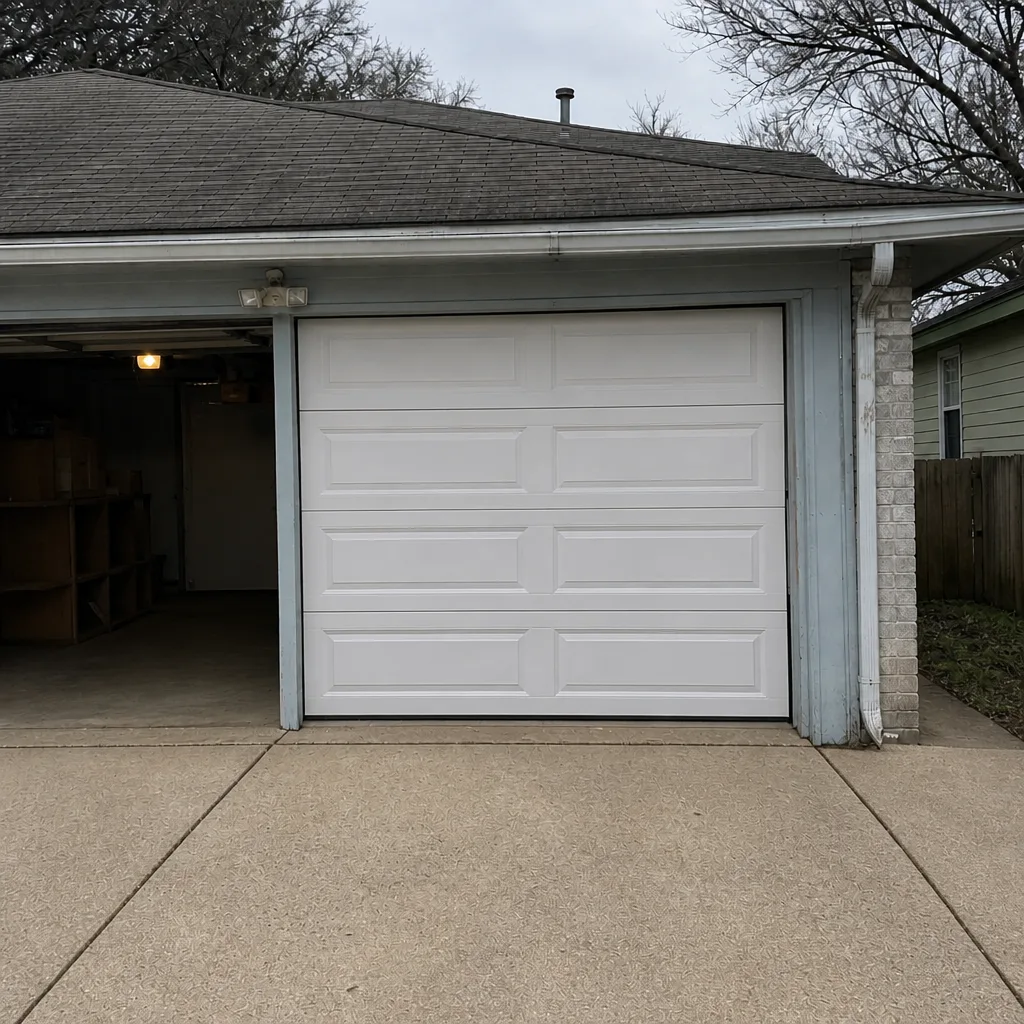 After
Common Mistakes to Avoid
- Rushing to replace the door when the spring is the problem. A worn spring can make a healthy door feel like it’s failing. Our first recommendation is almost always a repair, not a replacement.
- Using WD-40 on tracks and rollers. It’s a solvent, not a lubricant, and it attracts dust. In Waco’s clay-dust conditions, that turns the rails into a sticky mess fast.
- Ignoring a sensor misalignment for weeks. The reversal symptom doesn’t fix itself. A sensor that’s off by a couple of degrees will keep reversing the door every time, which is hard on the opener.
- Running the opener on a broken spring. This is the single most expensive “free” mistake we see. The opener burns its gear trying to lift a door the spring was supposed to hold.
- Tightening the travel limit too aggressively. An over-tightened limit can slam the door, which damages panels and can knock the track out of alignment.
- Assuming a Craftsman or Genie opener is dead after a storm. A surge usually takes out the logic board, not the motor. Get it diagnosed before pricing a replacement.
- Skipping the balance test. If you can’t tell whether the door or the opener is the problem, you’re guessing. The 60-second test tells you the truth.
Frequently Asked Questions
Your safety sensors are the most likely cause – one of them has been nudged slightly out of alignment, or something is obstructing the beam. Realign them by hand until both indicator LEDs are steady, then test the door. If the door still reverses after alignment, the opener’s travel limit may need a small adjustment. If neither fixes it, call us at (855) 916-7192 for a free estimate on a proper diagnosis.
Spring replacement is priced per spring by a written estimate, and it will depend on the spring type and door weight. We don’t give phone quotes for spring work, because the price depends on what we see in person. The written estimate sets the final price, and we agree on it before any work begins. Call (855) 916-7192 for a free estimate.
No. Torsion and extension springs store enough energy to cause serious injury when released incorrectly, and they can release even with the door down. This is one of the few repairs we will not coach a homeowner through. Our technicians have up to 11 years of experience with springs and cables, and we recommend calling a professional instead. Reach us at (855) 916-7192 for a free estimate.
A power surge usually damages the opener’s logic board, not the motor itself. Before assuming the whole opener is dead, check the breaker and the wall switch, and count the LED blink codes if the unit has power. On a LiftMaster or Chamberlain opener, the blink pattern will tell you whether it’s a board fault or a sensor issue. If it’s the board, call us at (855) 916-7192 and we’ll walk you through the options.
Repair is the right call most of the time, especially when the door panels are structurally sound and the failure is mechanical. A door with a broken spring, worn rollers, or a failed opener is usually a repair – not a replacement. If panels have cracked, warped beyond correction, or if you’re trying to match an old door part that no longer exists, replacement may be more cost-effective. We’ll give you an honest recommendation either way. Call (855) 916-7192 for a free estimate.
We work on LiftMaster, Chamberlain, Genie, Clopay, Amarr, Wayne Dalton, Craftsman, and Raynor. That means we repair the equipment you already have, whether it’s a Wayne Dalton door, a LiftMaster opener, or a Clopay panel set. We don’t push a specific brand because every brand has its strengths. For any of these manufacturers, our approach is to fix what you have first. Call (855) 916-7192 for a free estimate.
The Bottom Line
The fastest repair is the one that diagnoses the right cause the first time. Work backward from the symptom, run the 60-second balance test, and count the opener’s blink codes before drawing conclusions. Handle sensor alignment and lubrication yourself; leave springs, cables, and logic boards to a trained technician. In Waco, expect the heat, clay dust, humidity, storms, and settling to wear your door in specific ways – and plan your maintenance around them. When you’re stuck, the fastest path to a diagnosis is a call. Reach Waco Garage Door Service at (855) 916-7192 for a free estimate on Waco garage door work, or visit our home page to learn more about what Waco Garage Door Service does.
Written by the team at Waco Garage Door Service.